Developed to enhance 's user experience, the QuickConfig feature increases job submission speed and flexibility by allowing you to freeze your current module configuration in one click.
If you already have a huge list of configurations and you don’t want to create a new one for a short-run production, save your current print configuration as a QuickConfig which can be used immediately to submit multiple files with the same settings.
Caldera’s new QuickConfig feature is compatible with all our print drivers!
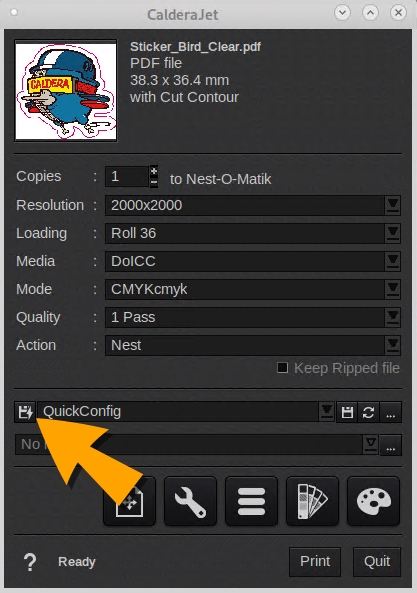
Save the current print configuration
- Open the main window of the Print module and define the following print settings you want to save: copies, pages, resolution, loading, media, mode and quality.
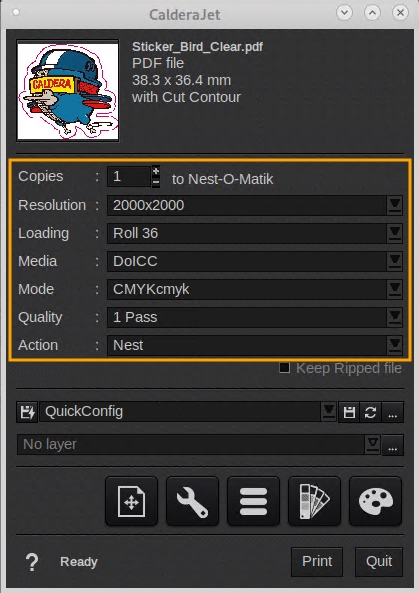
- Click the QuickConfig button to save these parameters.
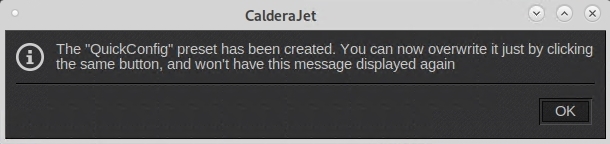
On the first use, a pop-up will appear telling you that the QuickConfig preset has been created.
Use the QuickConfig
As soon as you have saved a QuickConfig you can re-use it to send a job directly to your printer thanks to QuickPrint.
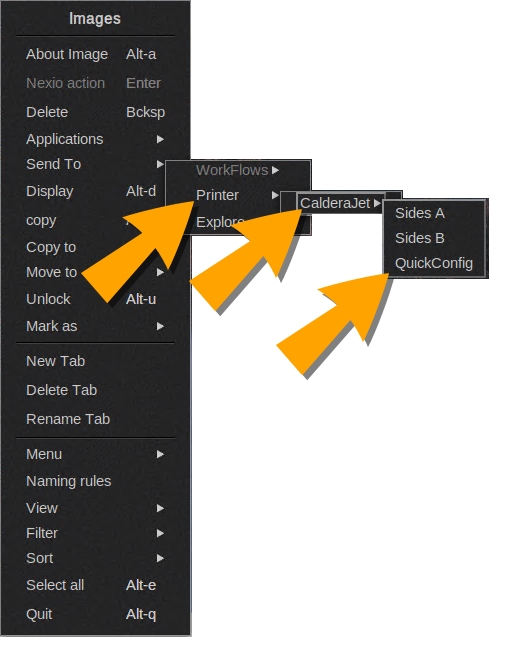
- From the ImageBar, select the image (or images) you want to process. Make a right-click and select Send To.
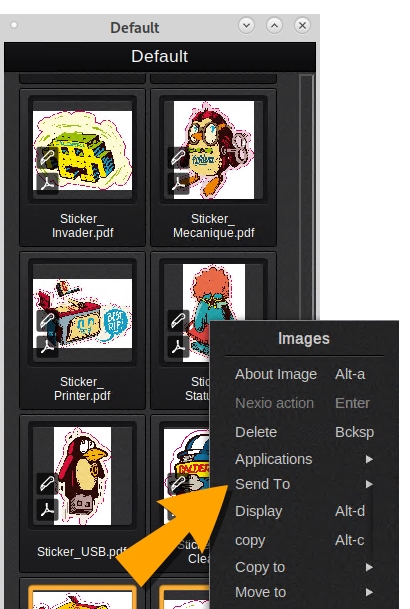
- Then, choose the Printer category, select your printer and select QuickConfig.
You can see the job in the Spooler with the parameters set in the print configuration.