With Windows 10, all connections to local shared folder must be done with existing account.
So first step is to create Windows Account :
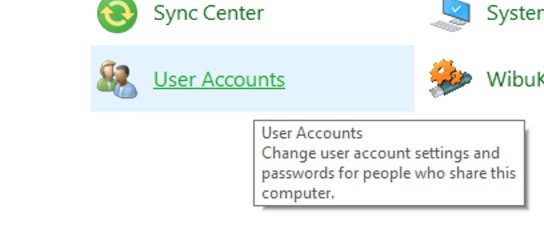
1) Go in Control Panel > Select User accounts
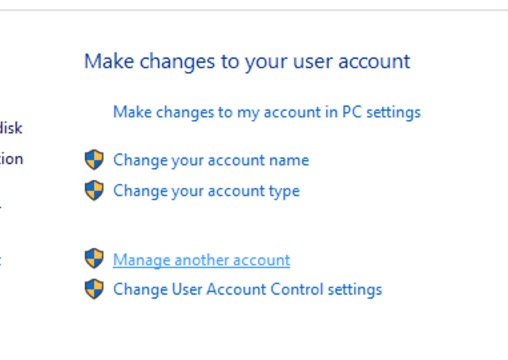
2) Select Manage another account
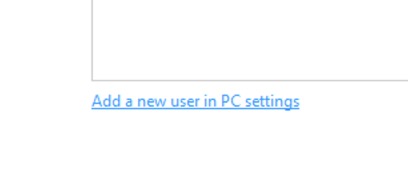
3) Add a new user in PC Settings
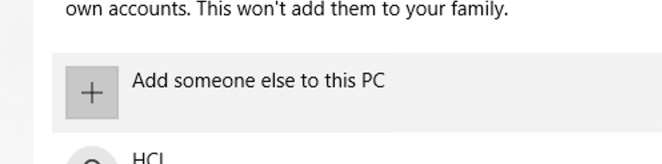
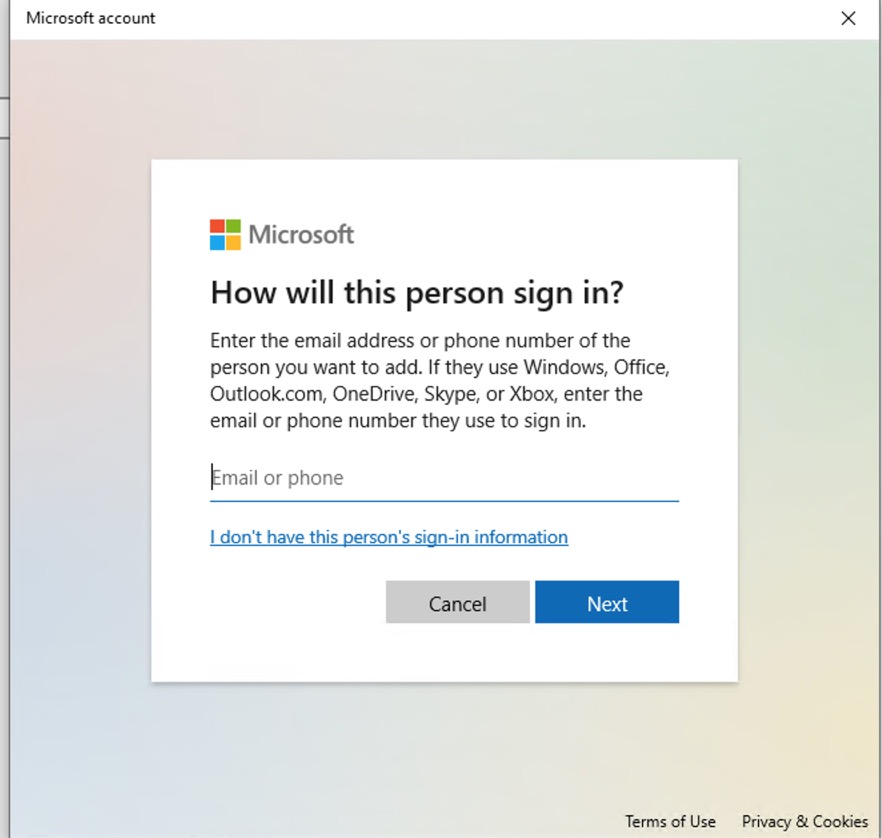
4) Add someone else to this PC :
5) You can add sign-in or select "I don't have this person's..."
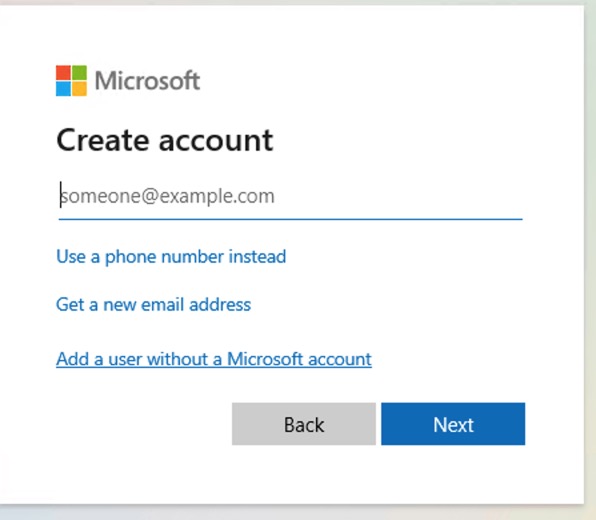
6) You can create from Microsoft account, or select Add a user without a Microsoft account :
7) Then select login, password, and security Q/A :
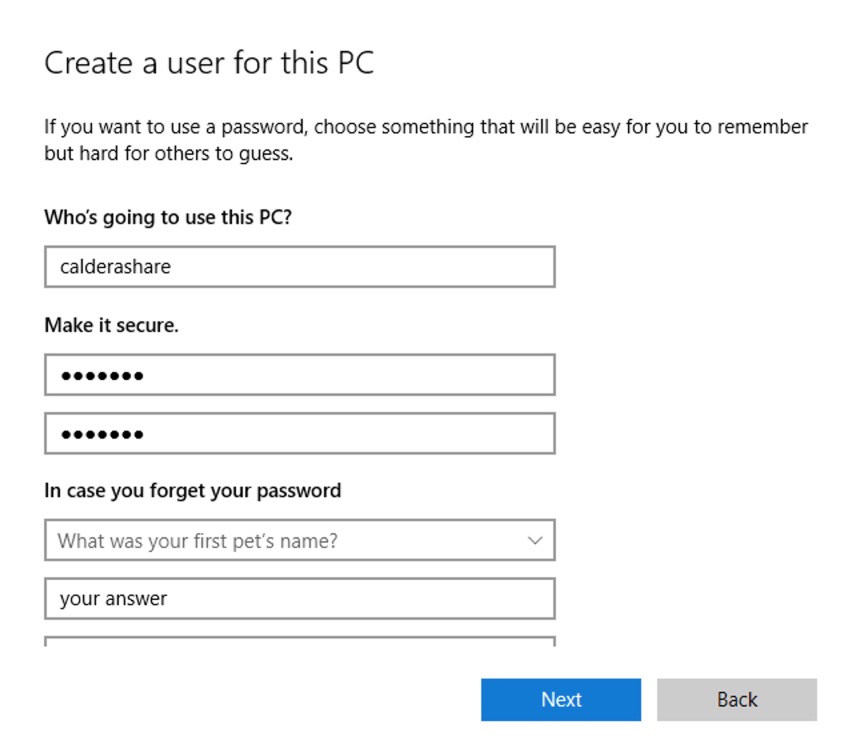
8) Here "calderashare" account :

9) Create or select your floder you want to share :
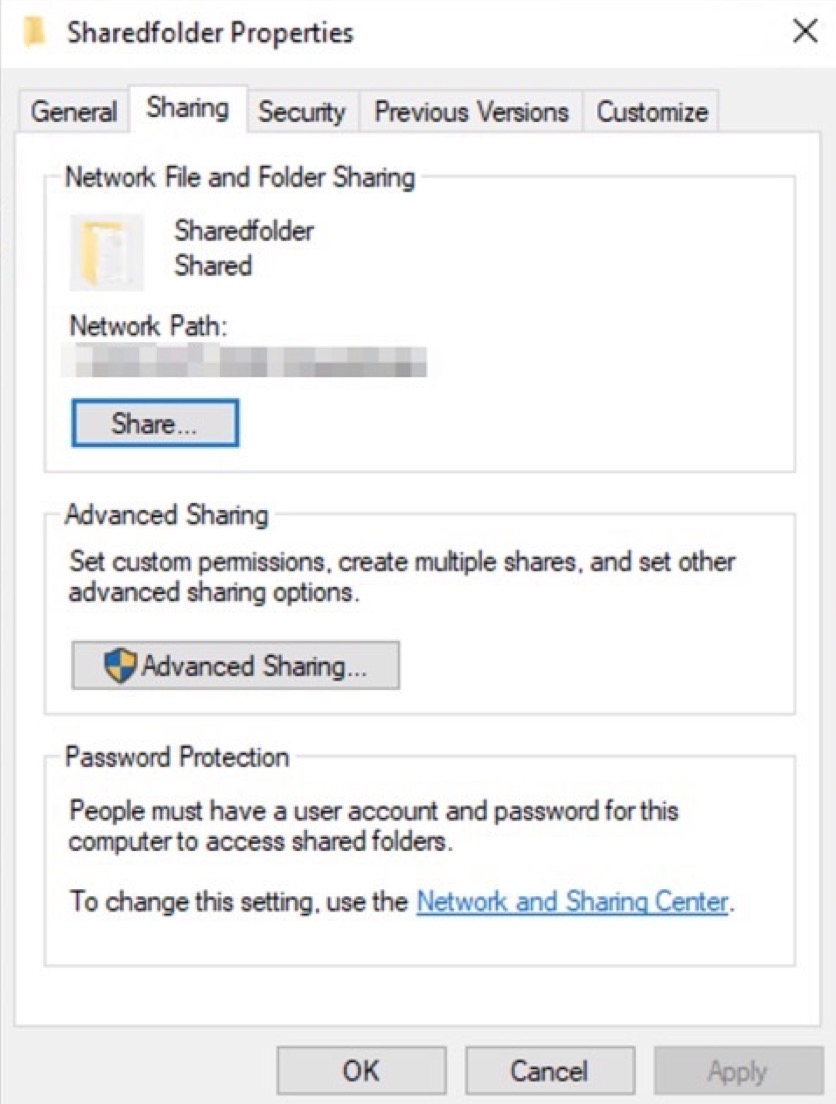
10) Right Click > Properties > Sharing Tab > Click on Share
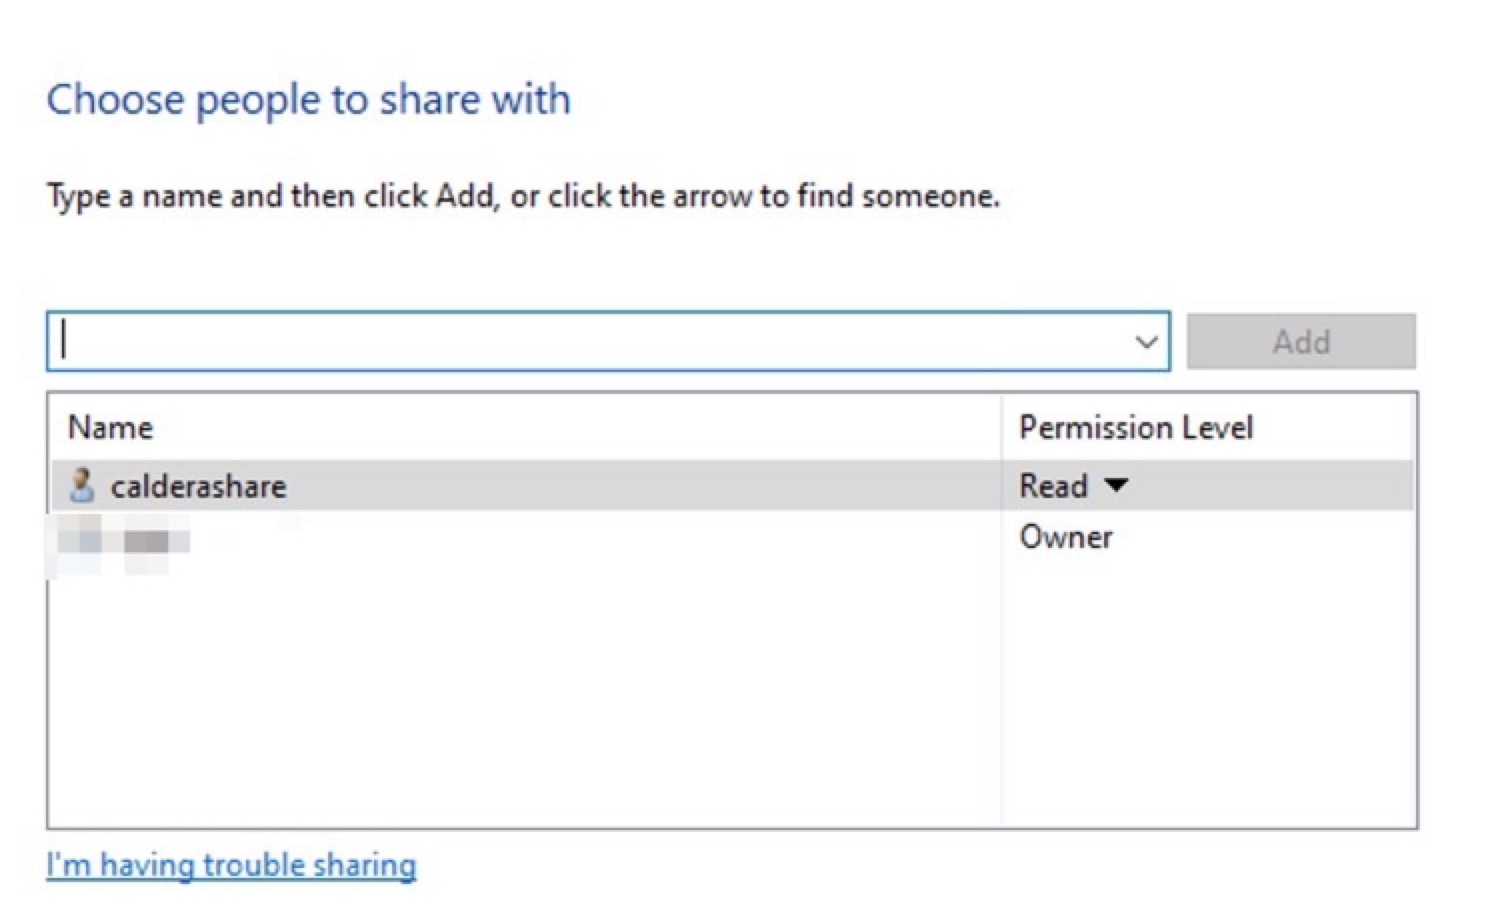
11) Find in list your new account (here calderashare) : and press Add button to validate
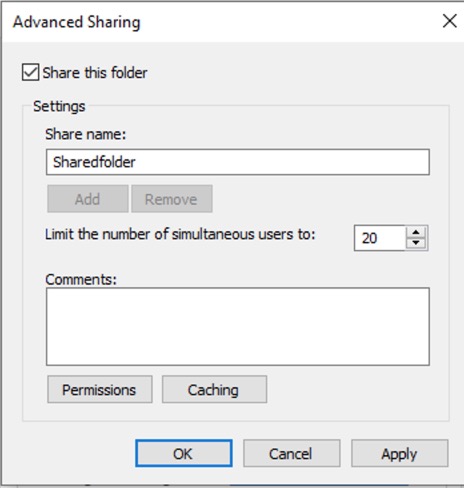
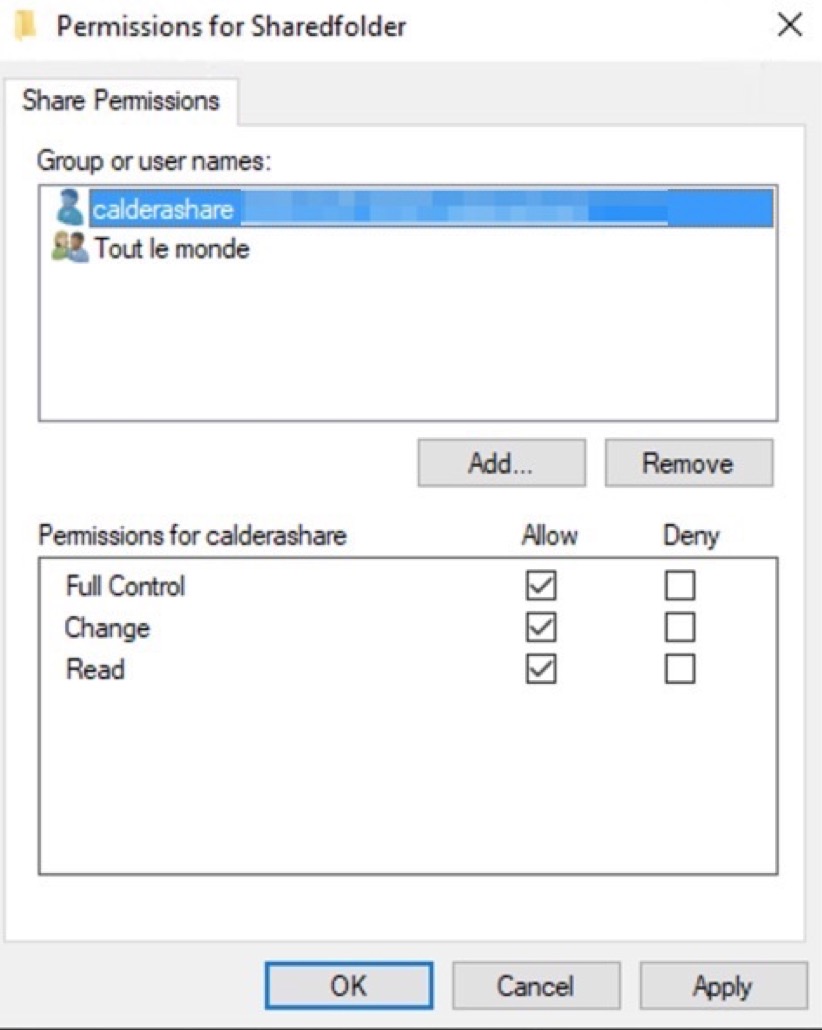
12) Then in Sharing tab > Click on Advanced Sharing > Check box "Share this folder". Then click on Permissions box :
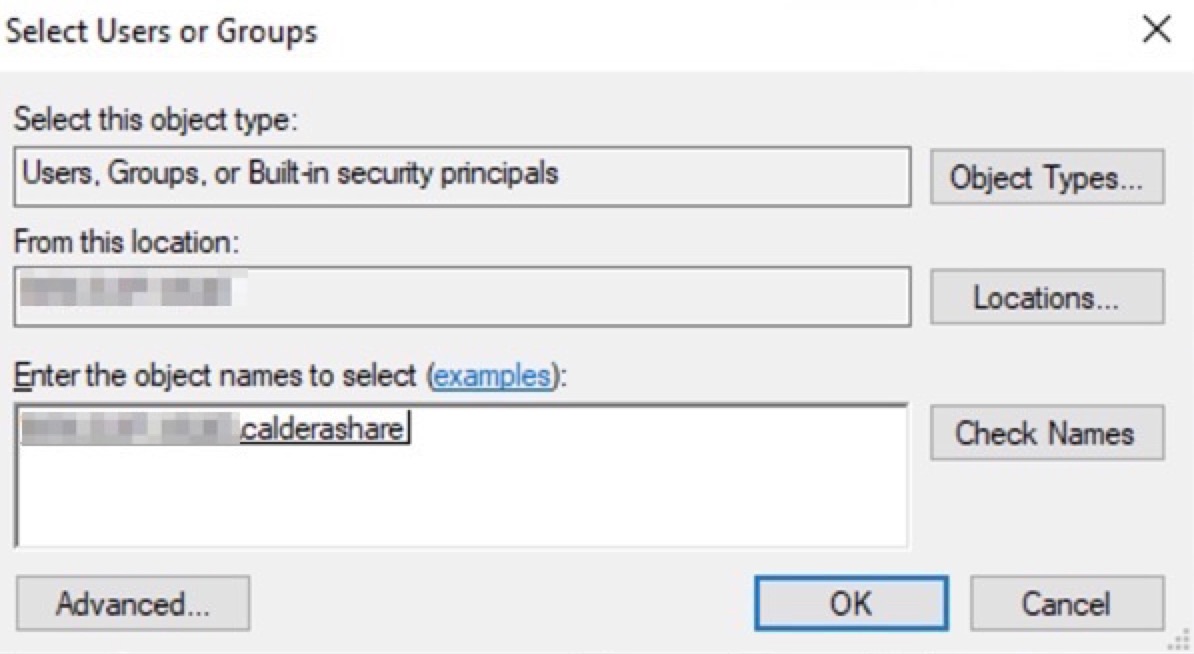
13) Then "Add" if user is not in list.
In Text area, write account's login and click on Check Names : it should find the proper one and fill with all informations > Validate with Ok.
14) Check that user has full permissions. Then Apply and Ok.
Now your Windows Folder is Shared with calderashare credential.
On Linux Debian Buster
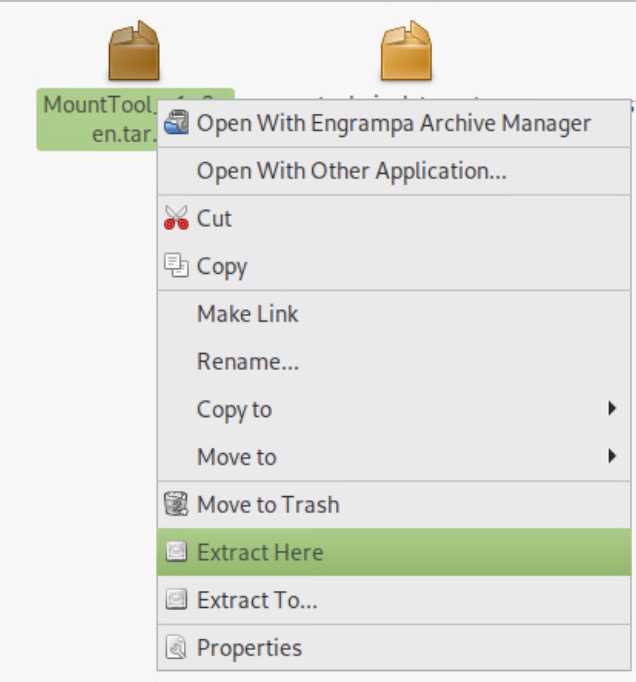
1) Be sure you use latest revision of MoutTool Software, available on Workspace :

2) Extract archive and double-click on installer.
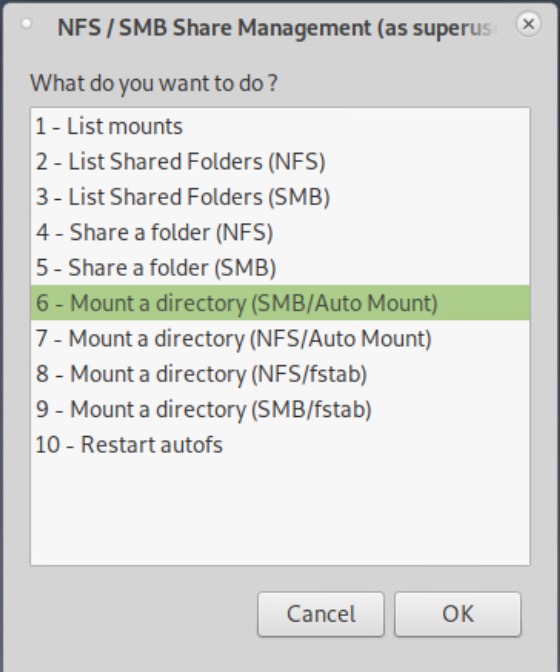
Software is then available in Applications > Internet tab.
3) Select 6 - Mount a directory (SMB/Auto Mount)
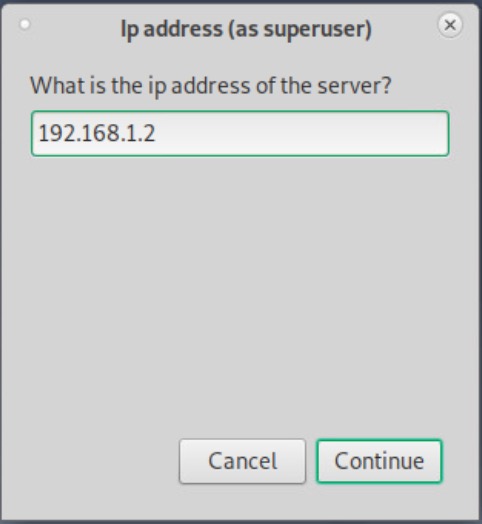
4) Put Windows' PC IP adress :
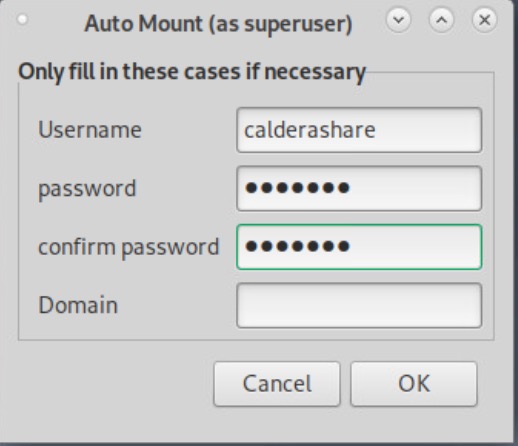
5) Fill with Windows account credentials.
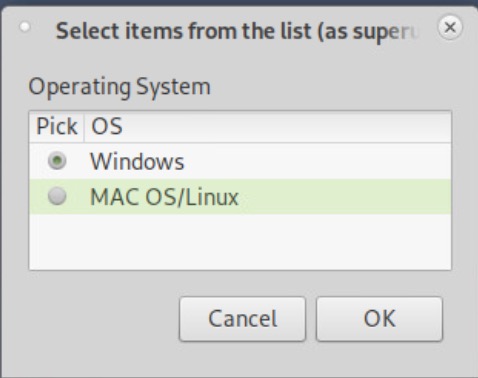
6) Select "Windows" as distant Operating System
7) In case of Success, this message should popup :
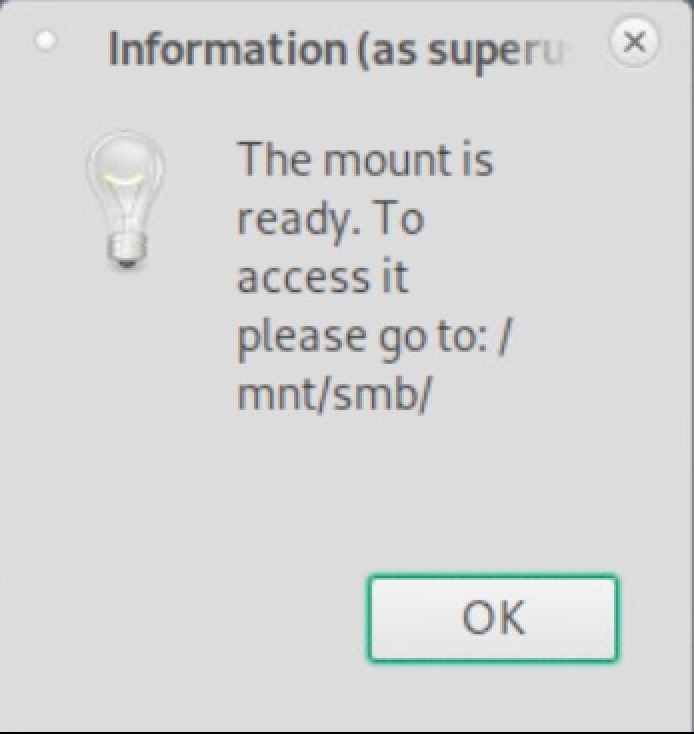
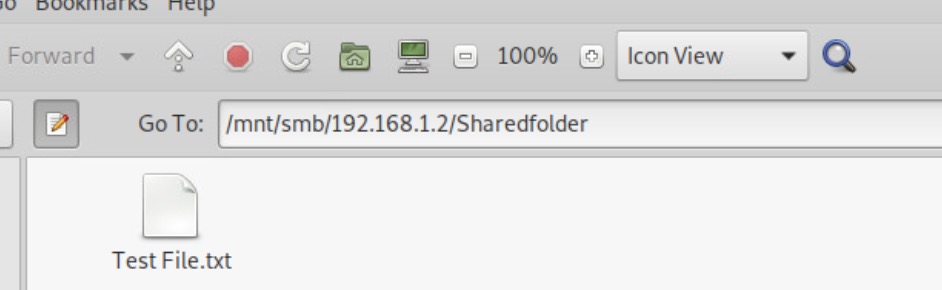
8) Windows shared folder should be accessible in /mnt/smb/IP-of-Windows-PC/shared-folder-name
Note A : In some cases, Fileman could be slow, due to sharing settings.
In this case :
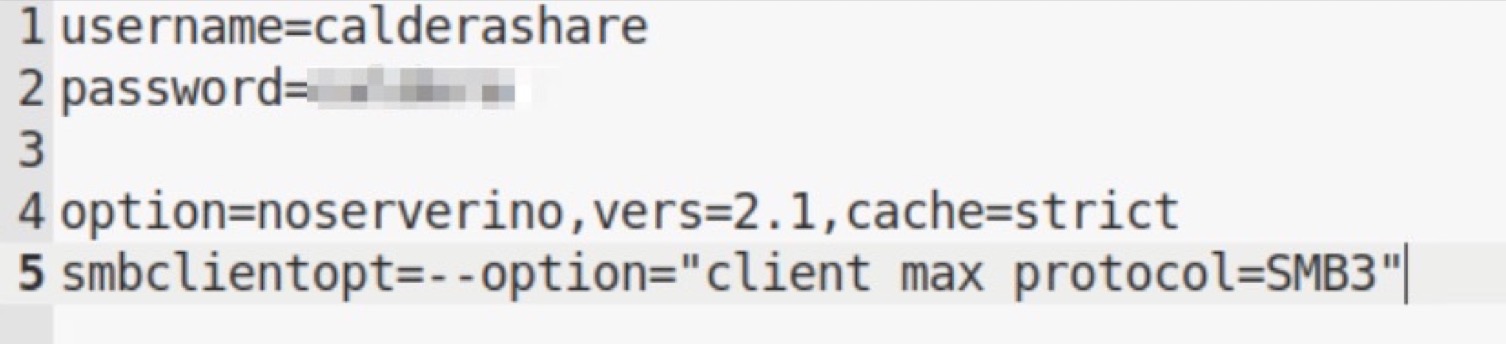
1) Open a Terminal, get root permissions with sudo -s and edit your sharing setting file with pluma /etc/auto.smb.credentials/windows-PC-IP

2) Replace vers=2.0 with vers=2.1 and cache=none with cache=strict
2) Save and quit then reboot PC or
2-b) Kill Caja and Restart smb and fsauto services with sudo credentials
killall -9 caja
service smbd stop
service autofs stop
service smbd start
service autofs start
Note B : Some Windows may have different SMB version installed and active.
So follow this process to know which version is on WIndows :
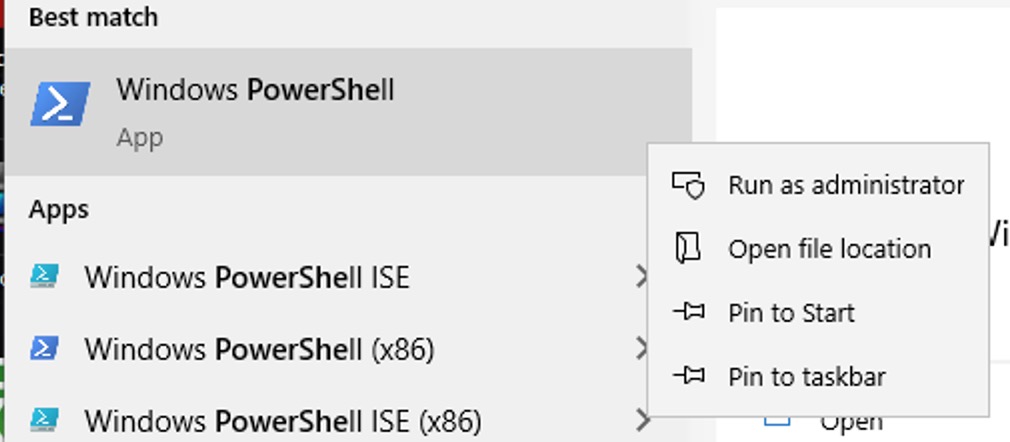
1) On Windows Start menu, Type PowerShell.
2) Right Click on it to Run as Administrator :
3) Then type
Get-SmbServerConfiguration | Select EnableSMB1Protocol [Press Enter]Get-SmbServerConfiguration | Select EnableSMB2Protocol [Press Enter]Get-SmbServerConfiguration | Select EnableSMB3Protocol [Press Enter]
You will get which version is installed and active with result :
True = Enabled
False = Disabled
Nothing is returned = the SMB version is not installed

Note C : SMB1 case on Windows :
If old SMB1 only is installed on Windows :
1) Download latest MountTool revision from Workspace.
2) Use it to mount your shared folder.
3) Open Terminal, go in admin mode
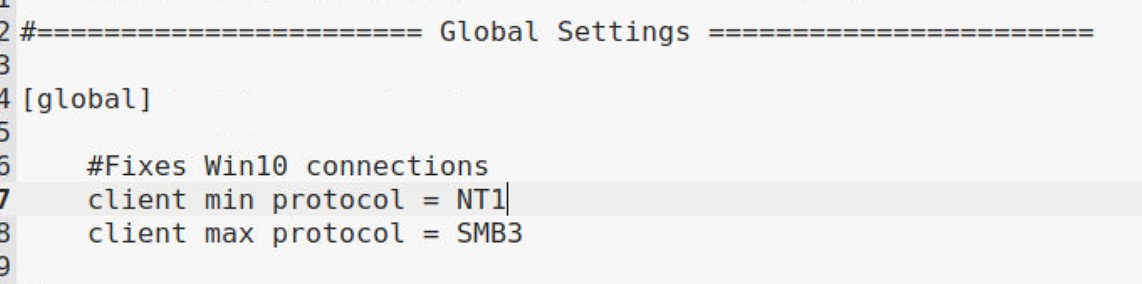
4) Modify /etc/samba/smb.conf to put in Global Settings
client min protocol = NT1
as here
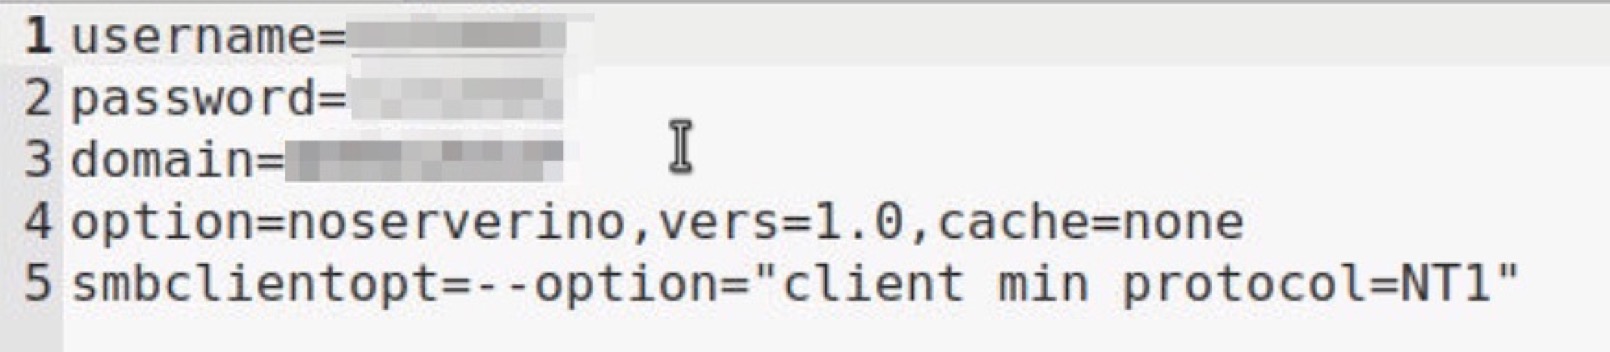
5) Modify your shared folder crendentials in /etc/auto.smb.credentials/yourfile
add
option=noserverino,vers=1.0,cache=none
and
smbclientopt=--option="client min protocol=NT1"
6) Kill Caja and Restart smb and fsauto services with sudo credentials
killall -9 caja
service smbd stop
service autofs stop
service smbd start
service autofs start
7) Then access to your /mnt/smb shared folder