Here’s a quick write up on how to create a mount point. Of course you need to replace the sample data like the share names and ip addresses with your specific data.
Also be aware that the Mount tool for Debian does this using a GUI, Mount tool
The windows share is called Documents_Customers and the IP address of the windows server is 192.168.1.187.
The windows share username is caldera and the password is caldera (If there’s no username or password, only add “password=”)
The mount point (local linux directory) we use is called xp2700 and these external mount points are typically located in the /mnt directory.
Open Terminal/Konsole (All commands and or paths are case sensitive)
Login as administrator:
sudo –s (password is caldera)
mkdir /mnt/xp2700 (this creates a directory called xp2700 inside the /mnt folder)
touch /mnt/xp2700/.donotremove (To avoid that the new mount point is removed we place a empty hidden file in this folder)
nano /etc/fstab (The fstab file contains all the mounts for all file systems like the local hdd partitions, cd-rom, usb devices and network shares)
Add the following line at the bottom of the fstab (when the share has a password and username add these as indicated and remove the last line item “password=” and if there’s no username and password then remove “username=caldera” and “password=caldera” but leave the “password=”

Use ctrl-x to save the new fstab. Cancel any window which might pop-up after the fstab file is saved.
On the prompt of the terminal type:
mount –a
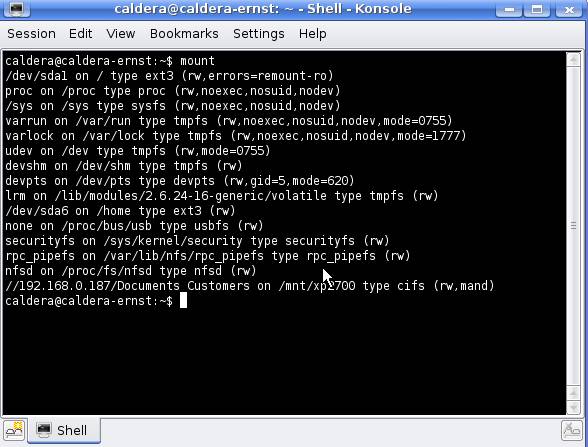
If this returns the prompt without an error, check if the drive is mounted by typing:
mount