How to install a roll based cutter which Caldera drives like a Graphtec, Summa, Mimaki, Roland printer/cutter etc.
=============================================================
Under the Settings Tab of the Application Window, double click the Config icon.
Click on New to add a VisualCut module.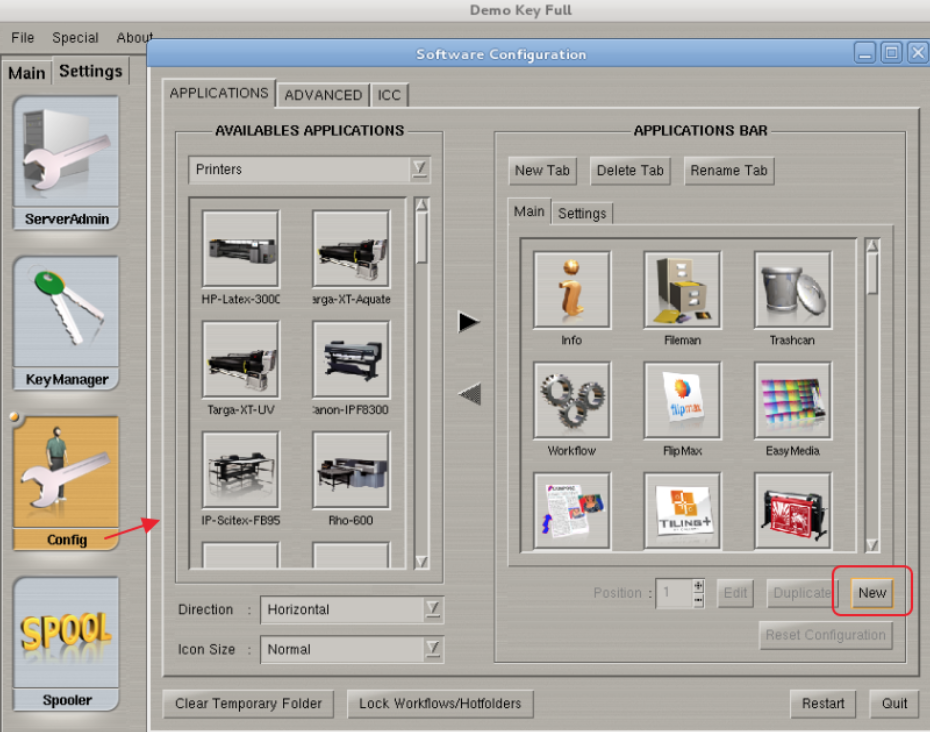
From the Type pull down menu, select Cutter. Enter a name for the Cutter (will appear with that name in the graphical user interface).
Click on Configure.
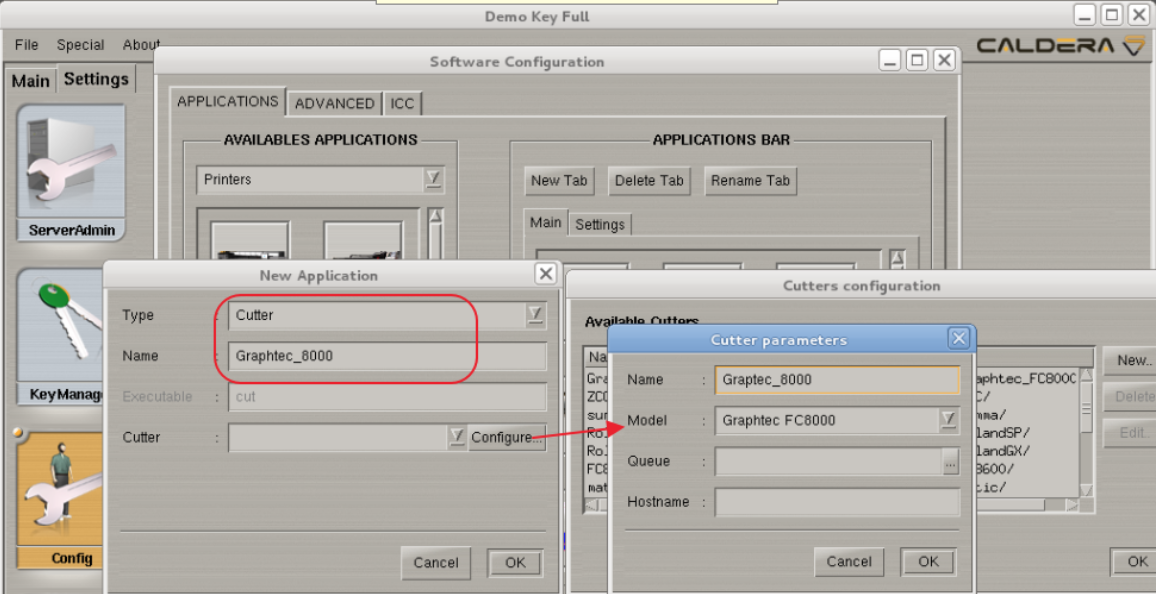
Enter again a name for the cutter (avoid spaces) and from the Model pull down menu, select your cutter model.
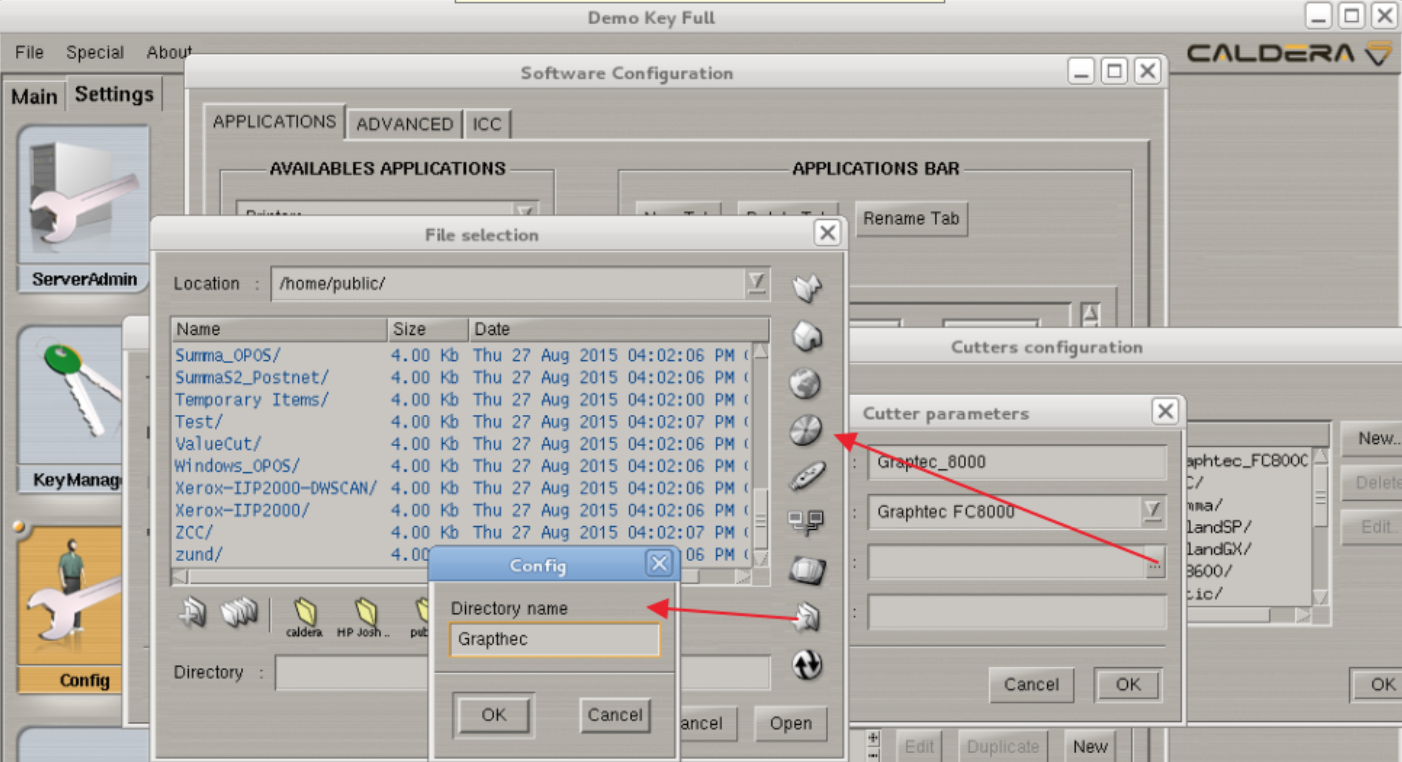
Under the Queue section click on the button with the three small dots. This will open a file selection Window which will allow you to browse to the folder which will act as a queue. In case of multiple Caldera rips this is typically a networked folder which can be shared.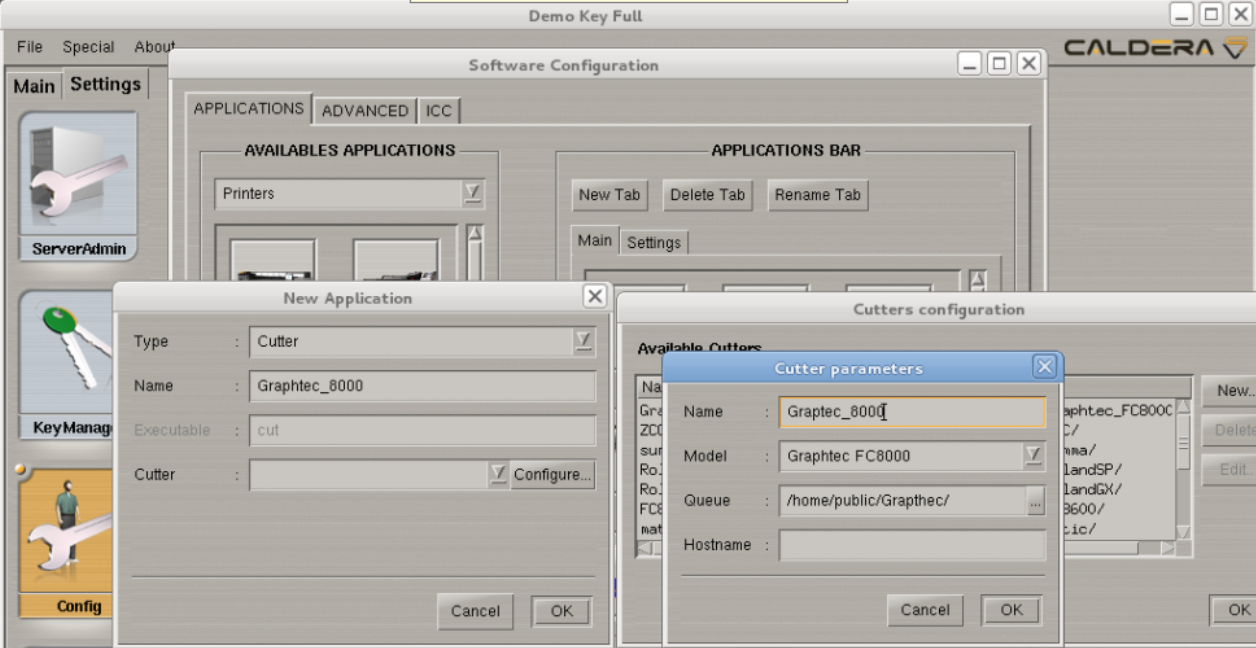
In the example a new folder has been created in /home/public. Under an OSX based install a good location would be /CALDERADATA/Public as these folders are by default shared.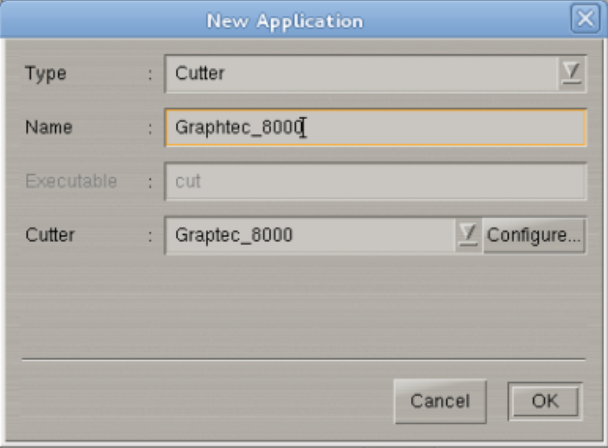
After configuring the queue and acknowledging each step you should end up with above window. Now close this window by clicking OK and Restart Caldera from the Config Window. When Caldera restarts it will add the Cutter icon.
Double clicking the icon allows you to specify the connection and cutter specific settings. Detailed info on this section is explained in our VisualCut manual, http://support.caldera.fr/downloads/DOC/English/920/VisualCUT.pdf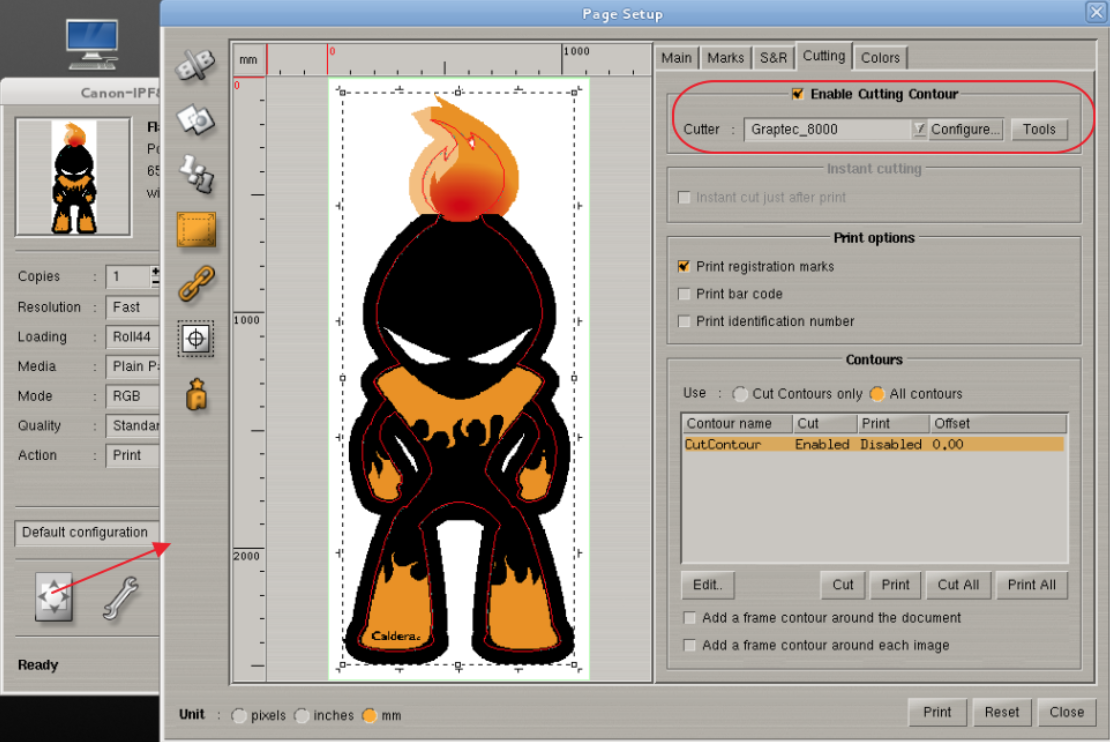
=============================================================Additional notes:
Make sure that you have the have the latest build patch installed as some cutters were added through build patches.
For Roland Printers which have a cut option you also install VisualCut and select one of the following Roland Cut Drivers:
Dedicated Roland cutters, use the Roland GX driver
Roland SCXXXX printers, use the Roland SC driver
All other Roland Print and Cut models, use the Roland SP driver