Issue:
You are booting a Linux Debian but cannot reach the login screen of the operating system.
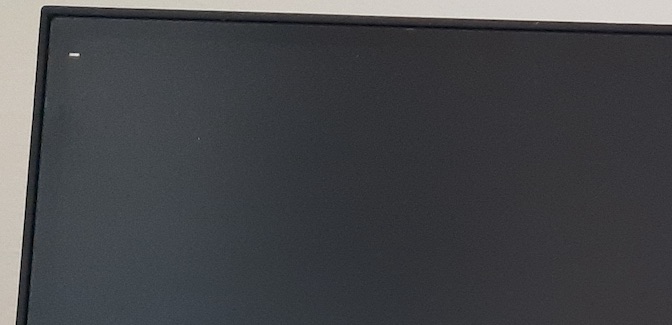
Instead of the visual interface of the login you just have a blinking cursor in the top left of the monitor.
This article is specifically for computers having an Intel graphic card.
Problem:
The Linux operating system is not loading the correct graphical driver and settings in order to start its graphical interface.
Solution:
Please keep in mind that if there are capital letters in the following process they should be used as such otherwise the command line may not work.
1) Access the system in command line.
First we have to access the command line mode of the system.
Press the keys  at the same time on the Keyboard.
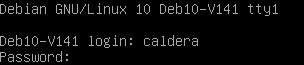
It will ask you to login so type your login/password information.
Please be aware that even if you do not see the cursor moving while typing the password it's still working: just validate with the Enter key once the full password has been typed.
Then become root/administrator by typing  and validating with the root password.

2) Put the configuration file on the computer.
You will need an USB key to be able to copy the file attached to this article on the computer.
The xorg.conf file is a file containing graphical settings for the operating system.
Download this file on another computer and copy it to the USB key.
Then connect the USB key to the Linux computer.
a) Identify the USB device/storage connected to the system.
You will now need to mount the USB key in order to access it from the system.
In the terminal type  and validate.
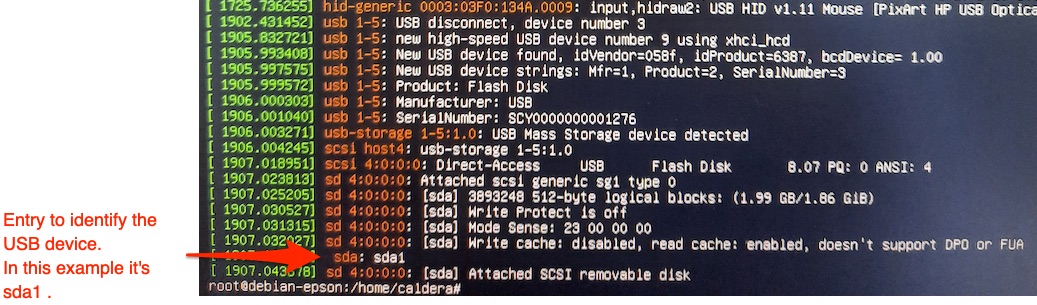
A lot of lines will appear, the part that is of interest to us is at the end: we need the identification information to recognize the USB device.
At the end of the list you will have something like "sda1" or "sdb1" (or something close), you have to remember this information (or write it down somewhere).
Example of the result of "dmesg" :
b) Create a folder to access the USB storage.
Now you need to create a folder to be able to link the device to it.
Type ![]() .
.
This command will create the folder /mnt/USB1.
c) Link the folder to the USB storage.
To link the folder and the USB storage you need to use the previously identified word that represents the USB stick in the following command line.
The syntax is:![]()
There is a space between the various parts of the command.
So with our example of "sda1" and folder "/mnt/USB1", the command would be:
![]()
Once you have validated this command you will be able to access the USB Storage by going to the folder /mnt/USB1.
d) Copy the xorg.conf file from the USB storage to the local hard disk.
To do a copy in command line you have to use the "cp" command.
The syntax is ![]() . Do not forget the space between the various parts of the command.
. Do not forget the space between the various parts of the command.
You will need to copy the file to the folder /etc/X11. (so that's the destination).
if you put on the USB storage the file at the root of the device then you will identify the file with "/mnt/USB1/xorg.conf". In case it's in some sub-folder of the USB storage then you have to add the names of these folders in the command: path would be something like "/mnt/USB1/folder1/folder2/xorg.conf"
In the following example I will consider that the file is at the root of the USB storage: in this case the command to copy the file would be the following.
![]()
Be sure to have the needed spaces in the command.
3) Reboot the computer.
The change will be applied at reboot so reboot the computer by typing and validating:
![]()
Then boot the computer normally.
Article published in July 2021.