The Printers overview section allows you to:
- View the global status of a printer queue and select it from Printer Thumbnail.
- Check easily the Workstation storage.
- Configure the "Super Spooler" feature that allows you to manage multiple workstations via Host Manager.
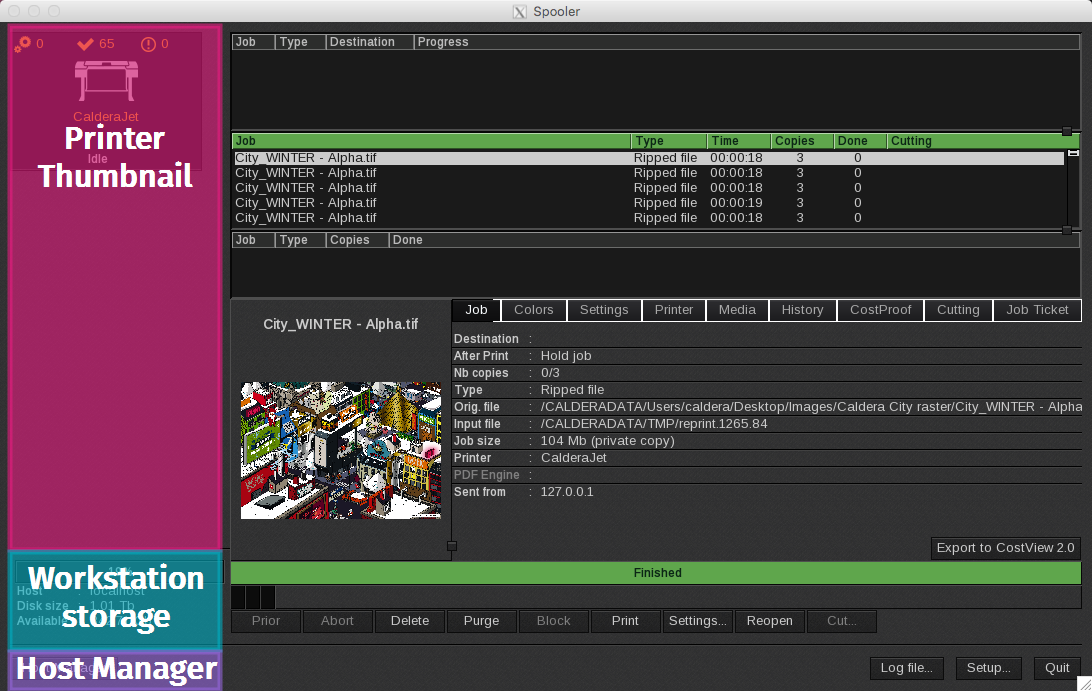
Printer thumbnail
The printer thumbnail displays several details:
-
 Number of jobs in the active queue.
 -
 Number of jobs in the done queue.
 -
 Number of jobs in the failure queue.
 - Printer’s name.
- (When enabled) Printer’s hostname (e.g. hostID or IP adress).
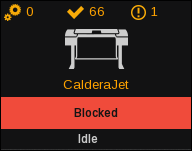
- Printer’s status. It can either be:
- Starting.
- Idle (for printers ready to print).
- Stopped.
- Or a percentage (displayed when a job is running).
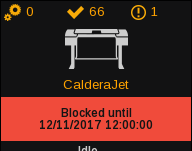
- If the printer is blocked, a red banner is displayed with the words “blocked” and the date if one has been set:
Actions available from the printer thumbnail
When you select a printer and right-click on it, the printer menu opens. There you can:

- Start server: Available only if the printer’s status is Stopped. When selected, the printer server changes its status to Idle.
-
Block printer: Opens the Block printer window:
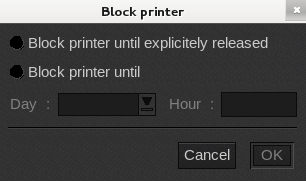
When a printer is blocked, no jobs are printed until the printer is released. If a job is being processed when the printer is blocked, it will complete the job and then block future jobs until released.
In the Block printer window, you can choose to "Block printer until explicitly released", which requires you to perform a manual release.
The other option is "Block printer until..." where you select a day and an hour and the printer is blocked until that time. This option is typically selected when a user needs to block the printing queue for an entire weekend. Click OK to save your changes. - Release printer: Releases a blocked printer.
- Configure…: Not supported.
-
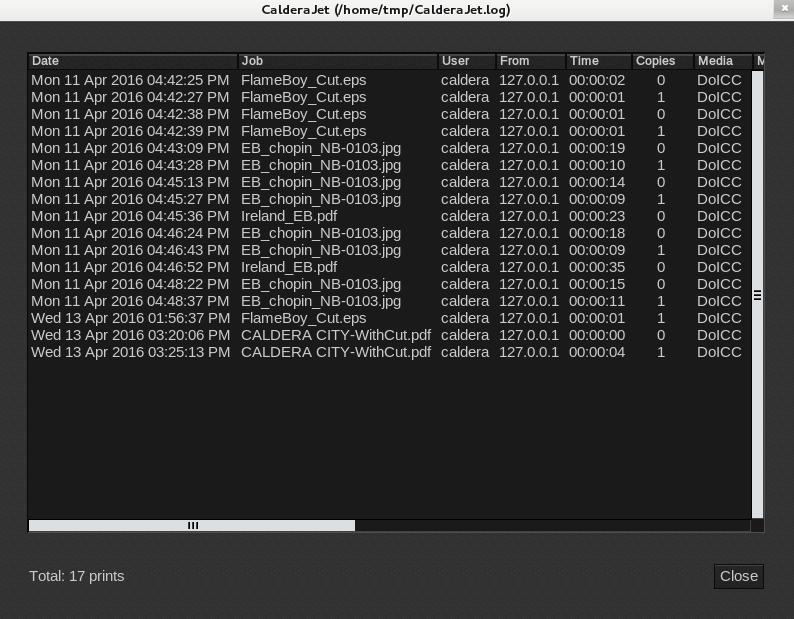
Open Log…: Displays a log of your completed or aborted jobs. It can also be opened using the Log fil button at the bottom of the Spooler window:
Workstation storage
The workstation’s storage information is located below the list of printers. In this area, you can see detailed information, including: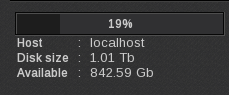
- Hostname or IP address. When your Spooler is in Administrator mode, you will be able to view other station’s storage information if they are added to the Server list (see next chapter for more information).
- Global Disk size or storage.
- Available storage on the disk.
Host manager button
The Host Manager button is available only in Administrator mode (see Global Settings to change the Spooler mode). This button opens a window where you can add new CalderaRIP workstations to manage:
|
|
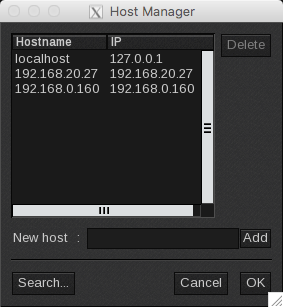 |
- Server List: Displays the list of workstations (hostnames and IP address) that are managed in the Spooler window.
- Delete button: Removes the selected workstation(s) from the list.
- New host field: Adds a new workstation to the list. Enter the Hostname or IP address, then click in the Add button.
-
Search…button: Opens the "Select host" window. Search for the workstation on your network and then add it to your Spooler window:
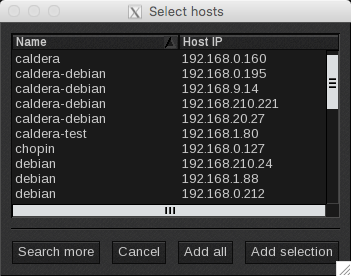
- Search more: Searches available workstations on the network and displays the list.
- Cancel: Closes the window without saving changes.
- Add all: Closes the window and adds all the displayed workstations to the Host Manager window list.
- Add selection: Closes the window and adds the selected workstations to the Host Manager window list.
- Cancel: Closes the window without saving changes.
- OK: Saves the changes and closes the window.