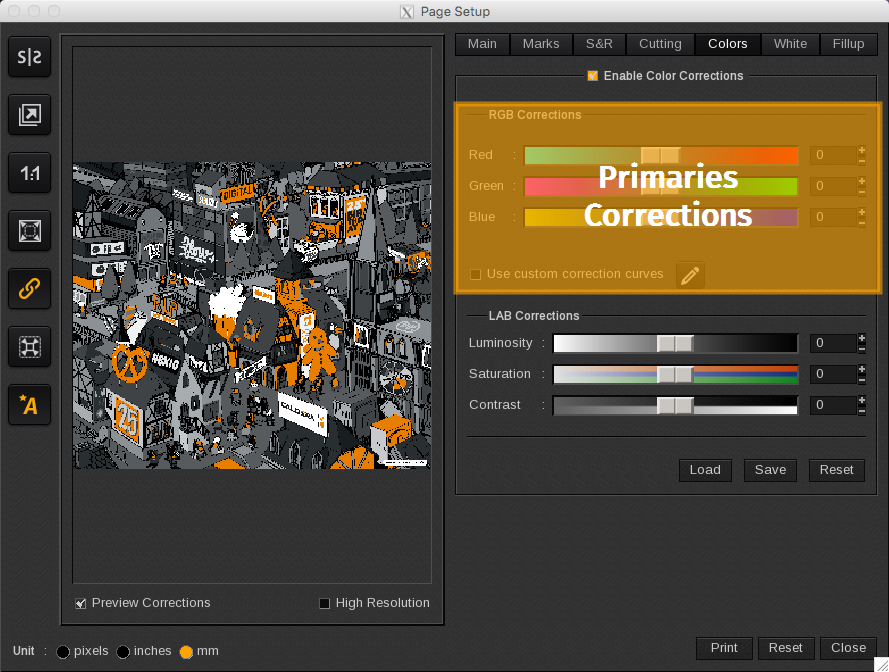
In this area, you can color correct primary colors. To adjust a color, move its cursor to the left or to the right. You can also manually enter a positive or negative value on the far right.
You can choose the correct the RGB or the Primaries. Just click on the proper checkbox to display the corresponding colors.
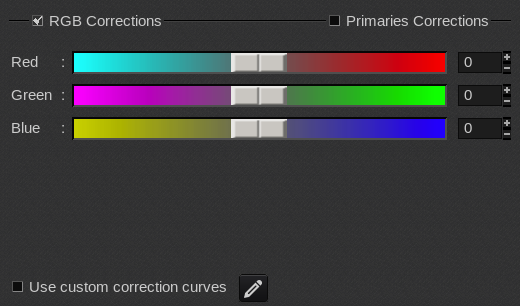
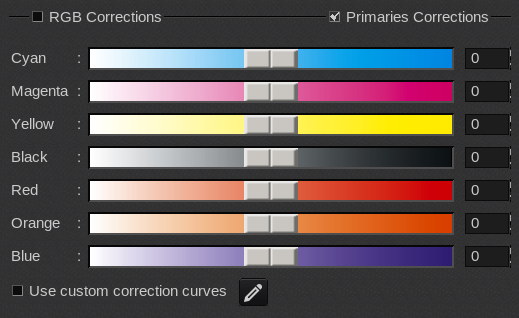
When you enable Use custom correction, it will activate the color correction using specific curves. Click Edit… to open the Curves window.
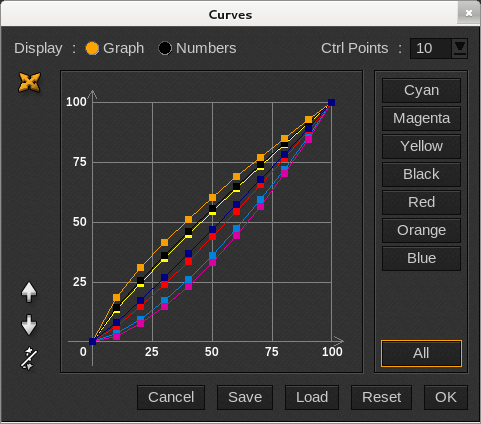
Here, you can:
-
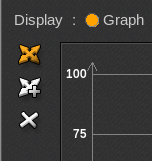
- Display: displays the data in either a Graph or with Numbers.
-
- Ctrl Points: choose the number of control points used to create the curve: 5, 10, 20 or 100. You can also choose Free. In this case, two new buttons appear in Graph mode to add a new point and to remove one.
-
- Cyan, Magenta, Yellow, Black and All: selects the curve(s). When a curve is selected, you can see its control points. In our example all the curves were selected.
-
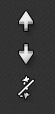
- Raise, Lower and Straightens: changes the curve’s aspect by raising, lowering, or straightening it.
-
- Cancel: closes the window without saving the changes.
-
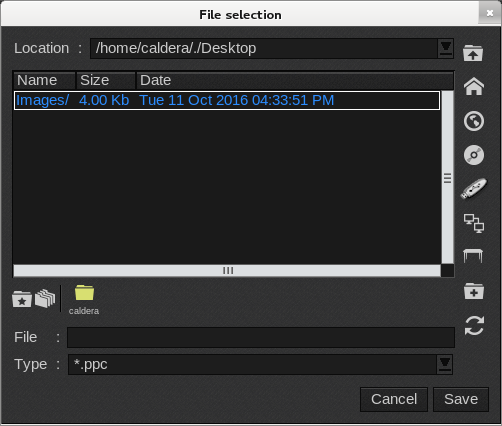
- Save and Load: saves or loads a curves correction file (ppc format). When clicked, the File selection window opens. Browse to the desired location to save or load.
-
- Reset: applies the default values.
-
- OK: saves the changes and closes the window.