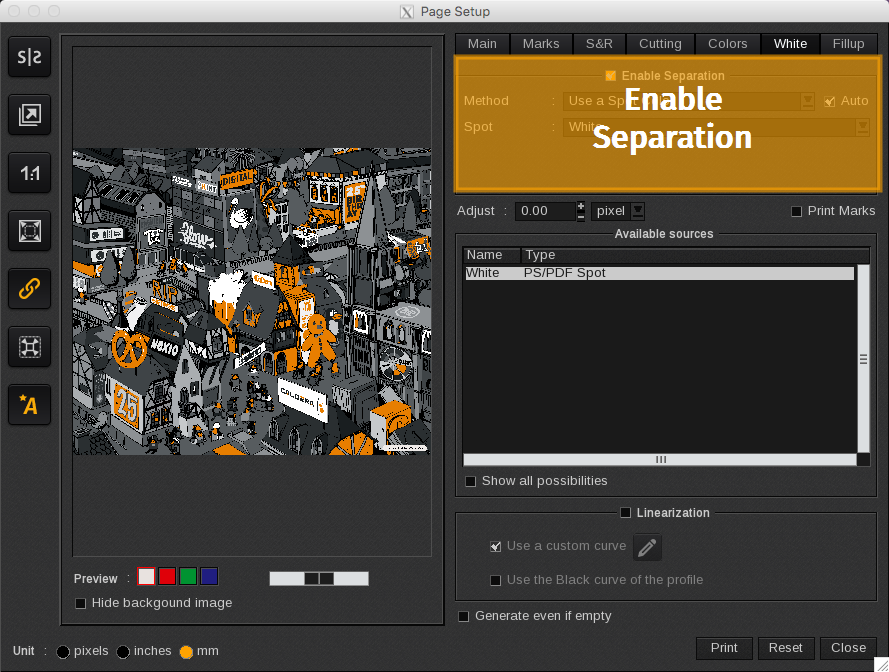
In this area, you will find the Method for color separation. The Automatic option is enabled by default, allowing the software to select the most suitable method based on your settings.
Use a Spot Color
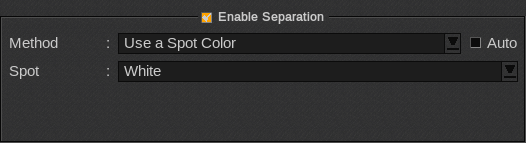
Usually the Spot Color used is named after the Special Ink (White, Metallic, Varnish, etc.). The file must be designed properly to allow for spot color processing.
When you select Use a Spot Color you must also indicate which spot color in the Spot field. The Spot drop-down menu lists all the spot colors recognized in your file. If no spot color is recognized, than you cannot use this method.
Use an Extra Channel

Extra-channel rasterization takes an extra-channel (or an alpha-channel) in a raster (usually in TIFF format) and rasterizes it in the separation. This method requires preparing the in an processing application.
When you select Use an Extra-Channel you must also indicate which channel in the Channelfield. The Channel drop-down menu lists all the extra-channels recognized in your file. If no extra-channel is recognized, than you cannot use this method.
If your extra-channel is not automatically selected, you can select it from the Available sourceslist.
When selecting an Alpha-Channel, you will have two options:
- Convert: in this case, the layer was removed from the so the default background color was the under-layer or black for RGB files or white for CMYK files if no under-layer was provided by the designer.
- Copy: it is used to avoid the printing of the black for RGB files, it copies the alpha channel into the white channel and preserves the printed area as white.

Fill a contour

Contour filling consists of taking vector contours in a PS/PDF file and filling them to produce the ink separation. The file must be designed with a contour (e.g. CutContour) for this option to be available. The special ink density inside the contour cannot vary.
For this method, set the following parameters:
- Contour: lists available contours if your file has more than one.
- Density: sets the special ink density.
- Do not print the contour: when enabled, does not print the contour, only the area that is inside it.
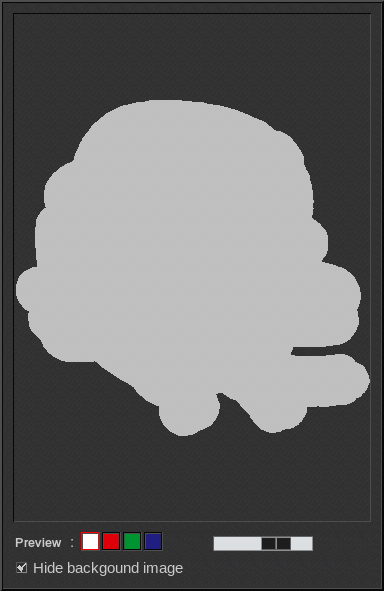
Preview using Fill a contour
Generate from CMYK data
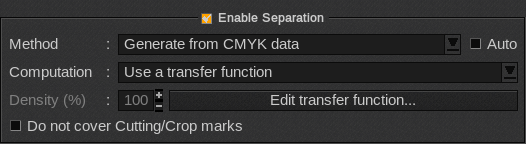
This method generates special ink percentages based on the underlying CMYK density. For this method, set the following parameters:
- Computation: choose which computation method to use to place the special ink:
- Generate where there is some ink: a special ink fill is added to areas where there is CMYK data.
- Generate where there is no ink: a special ink fill is added to areas where there is no CMYK data.
- Use a transfer function: a more precise method, uses a look up table to adjust special ink, by pixel, based on the density of CMYK ink.
- Density: sets the special ink density.
- Edit transfer function: this button opens the curves to set the transfer computation method.
- Do not cover Cutting/Crop marks: avoids covering the crop or cutting marks with the ink.
Full page coverage
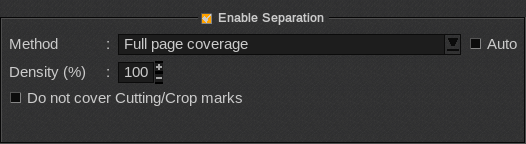
This method generates a special ink fill over the entire image. For this method, set the following parameters:
- Density: sets the special ink density to be applied by percentage.
- Do not cover Cutting/Crop marks: avoids covering the crop or cutting marks with the ink.
Ink Penetration
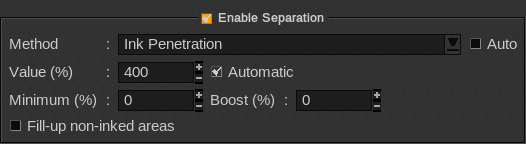
This method is used in Textile printing. It adds “Penetration” or Fill-up liquid to ease the absorption of the inks by the textile. It allows you to have a fixed amount of ink everywhere on the print.
- Value (%): defines the amount of ink you want to maintain on your media (total coverage). It includes the normal inks and the primer so, if the inks already exceeds the Value, no fill-up ink will be added (unless a Minimum has been set).
- Automatic: sets the value to the Ink-limit defined during the profile creation. This is the default behavior.
- Minimum (%): applies always at least this percentage of fill-up ink.
- Boost (%): boosts the value that should be inserted by this percentage. This is used for light inks only.
- Fill-up non-inked areas: allows the fill-up ink to be used even on non-inked areas of the job.