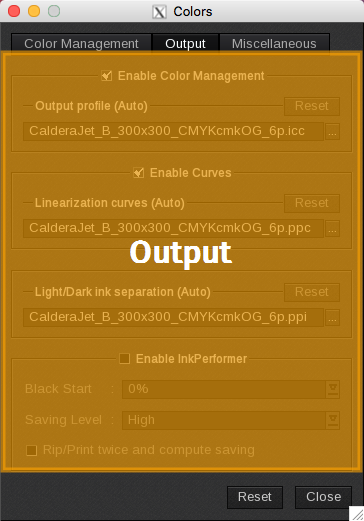
Below are the parameters used to configure the image output for the selected printer:
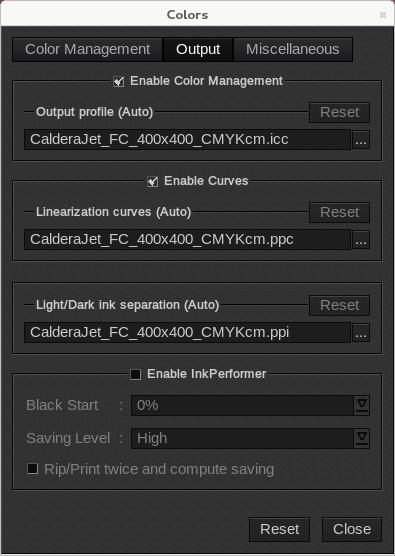
- Enable Color Management: Activate ICC calibration based on the printing mode and media.
- Output Profile (Auto): Selects the ICC profile used for image conversion. By default, it chooses the profile corresponding to the current media, mode, and quality. You can select a different profile by clicking [...].
- Reset: If you select a different profile, it will revert to the default one.
- Enable Curves: Click this option to apply linearization curves.
-
Linearization curves (Auto): Specifies the linearization curves used for image conversion. The current ICC profile's curves are selected by default. You can edit them by clicking [...], which will display the following window:
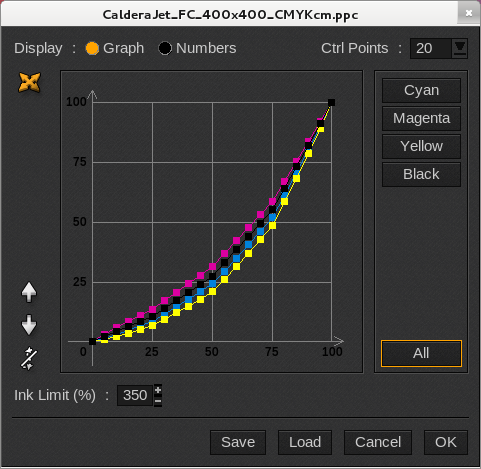
- Display: Choose how to visualize the data, either in a Graph or as Numbers.
-
Ctrl Points: Select the number of control points used to create the curve: 5, 10, 20, or 100. You can also select Free, which will display two additional buttons in Graph mode for adding or removing a point:
- Cyan, Magenta, Yellow, Black and All: Selects the curve(s). When a curve is selected, its control points will be visible. In our example, all curves are selected.
-
Raise, Lower, and Straighten: Adjusts the curve's appearance by raising, lowering, or straightening it:

- Ink Limit (%): Modifies the total ink quantity that the media can support.
- Save and Load: Saves or loads a curve correction file (ppc format). When clicked, the File Selection window opens. Browse to the desired location to save or load.
- Cancel: Closes the window without saving changes.
- OK: Saves the changes and closes the window.
- Reset: If you have made changes to the curves, they will be reverted to the default settings.
-
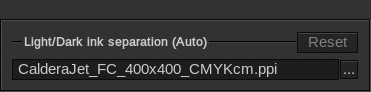
Light/Dark Ink Separation: Available only in modes with light inks, this option sets the transition curves used for image conversion. By default, the curves from the current ICC profile are selected. You can edit them by clicking [...], which will open the following window:
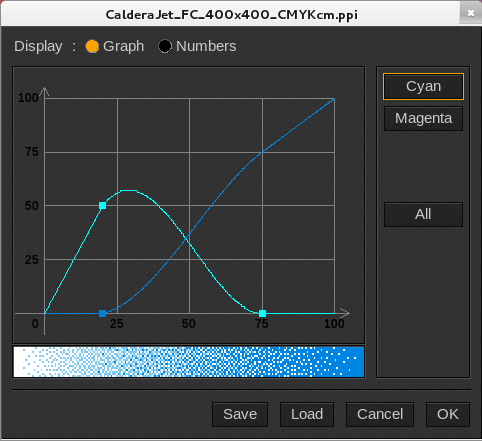
- Display: Choose to visualize the data in either a Graph or as Numbers.
- Graph: You can modify values directly on the curves or in the Numbers view.
- Cyan, Magenta, Black, and All: Select the curve(s). When a curve is selected, its control points will be visible. In our example, only the Cyan curves are selected.
-
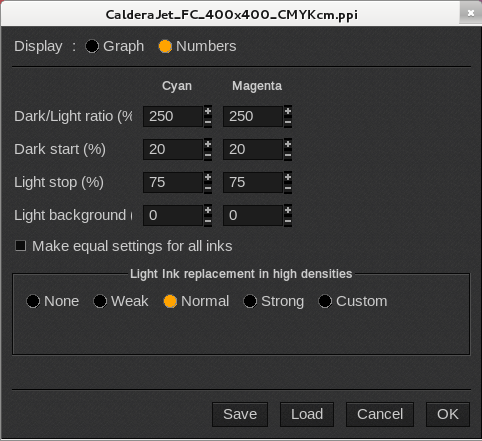
Numbers: For each ink, you can define:
- Dark/Light Ratio (%): Sets the ratio between dark and light inks as a percentage. The total of light plus dark will never exceed 100%.
- Dark Start (%): Indicates the percentage at which dark ink begins to replace light ink, corresponding closely to the top of the light ink curve.
- Light Stop (%): Specifies the percentage at which the light ink stops, transitioning to the background.
- Light Background (%): Sets the percentage of light ink in the background. If set to 0%, no light ink will be used.
- Make Equal Settings for All Inks: Applies the same settings across all inks.
- Light Ink Replacement in High Densities: Allows for a certain proportion of light ink to be replaced by an equivalent amount of dark ink in high-density areas to save ink and/or prevent over-inking.
- Save and Load: Saves or loads a curve correction file (ppi format). When clicked, the File Selection window opens; browse to the desired location to save or load.
- Cancel: Closes the window without saving changes.
- OK: Saves the changes and closes the window.
-
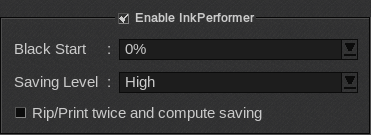
Enable InkPerformer: InkPerformer is an optional module available since CalderaRIP V9 that allows you to save ink. It requires the purchase of a specific activation key. Learn more.
-
Black Start: This percentage indicates when black ink begins to replace the other inks.
- 0%: Default value, where black ink replaces others immediately.
- Low: An intermediate value automatically calculated by InkPerformer.
- Preserved: The profile value remains unchanged.
- Saving Level: Specifies the ink-saving level, with options for Low, Medium, High, and Maximum, where High is the default setting.
-
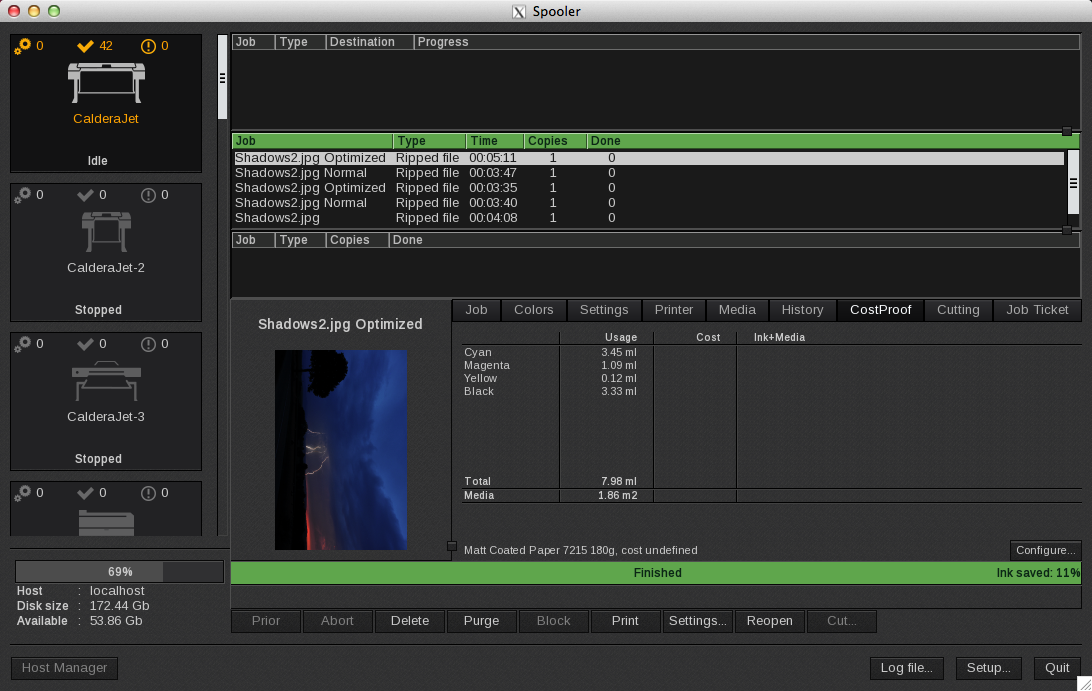
Rip/Print Twice and Compute Saving: When the job is sent to the print/RIP, two jobs are launched in the Spooler: one without InkPerformer activated (labeled Normal) and one with InkPerformer enabled (labeled Optimized). An ink consumption comparison is made, and the results can be viewed in the Optimized job.