This article explains how to create Optical or QR Codes and customize their size and placement through the Page Setup Additionally, you will learn how to integrate QR Codes into a cutting workflow.
Create an Optical or QR Code
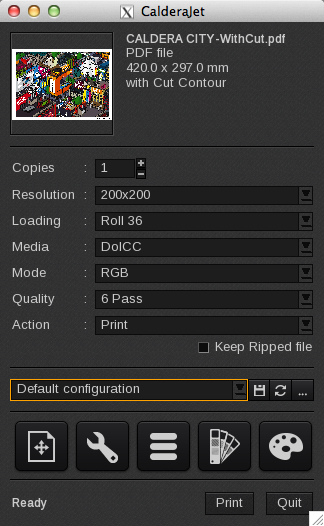
- Open the Print Module of your printer and add your image:
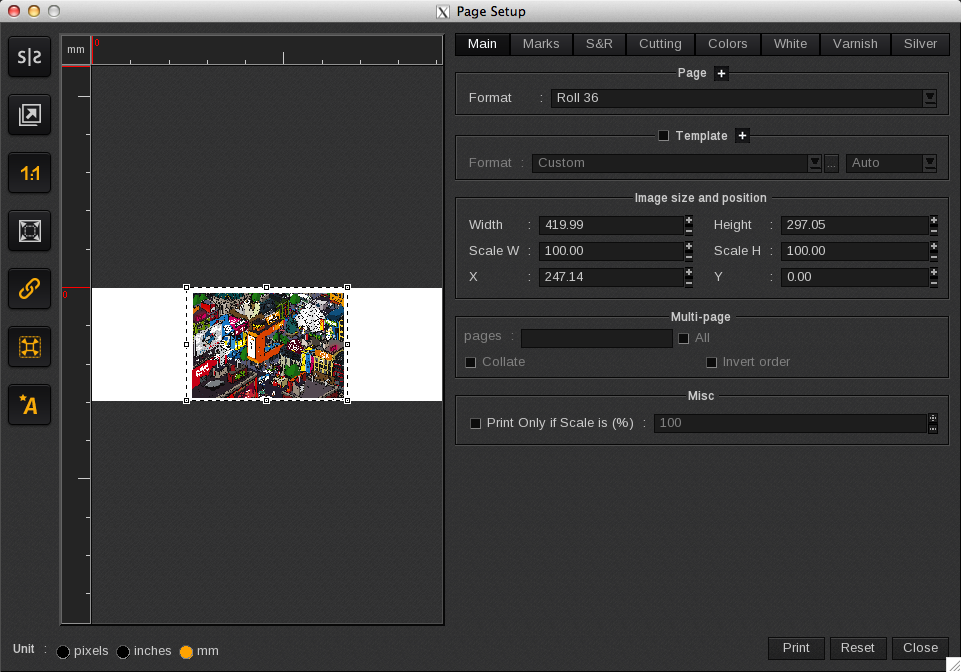
- Open Page Setup:
- Go to the Marks tab.
-
Enable the "Optical code info" (QR Code):
Warning
QR Codes cannot be used with the Contour Step & Repeat feature.
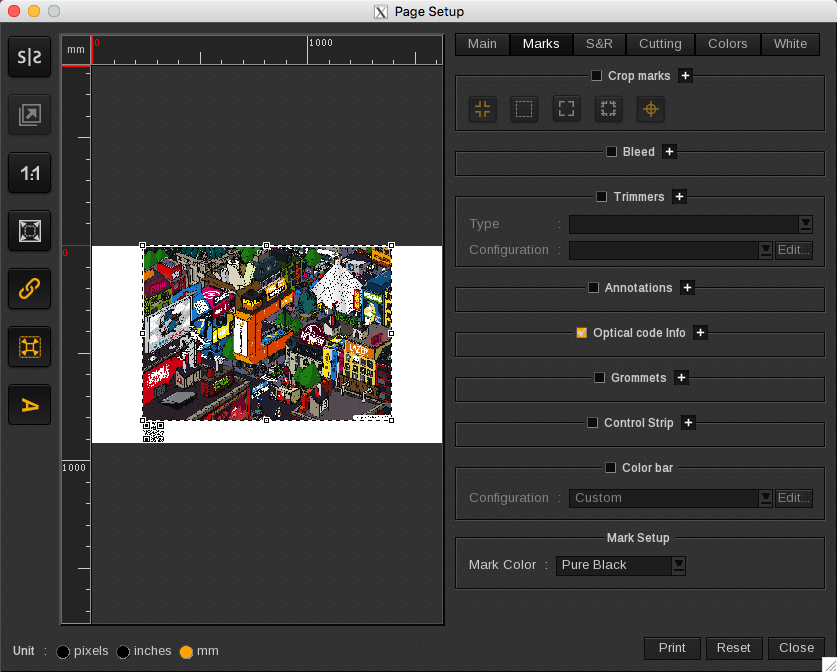
- You will find a default QR Code in the bottom left corner. It will also appear to the left of the text in the annotation text box when activated.
Configure an Optical or QR Code
If you wish to customize the QR Code, you will need to open the "Optical Code Info" section by clicking the Plus button (+):![]()
Then click on the "Edit" button to change the QR Code settings:
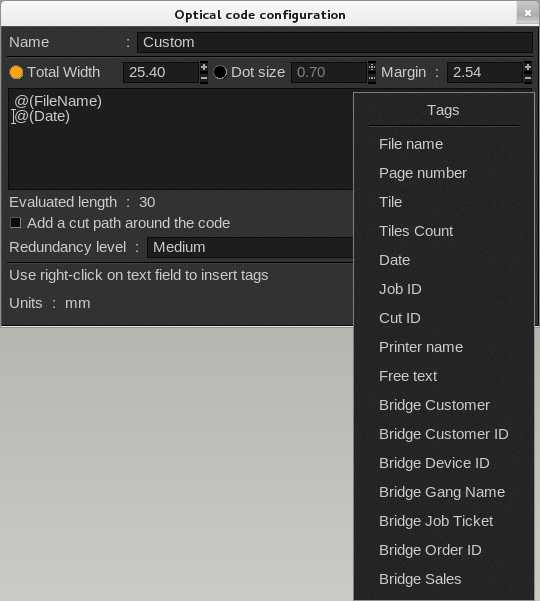
The Optical code configuration window allows you to define the parameters of your QR Code:
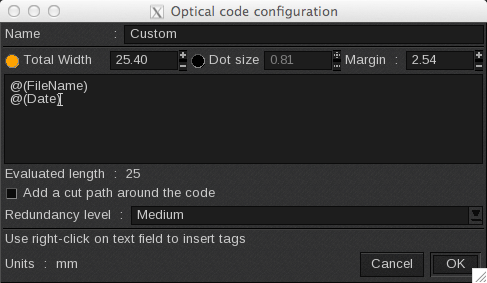
Name
You can assign a name to your QR code for easier identification.
Size
The size settings define the Total Width, Dot Size, and Margin of the QR Code. Consider the following:
- Only one of the parameters, "Total Width" or "Dot Size," can be activated at a time.
- "Total Width" includes the margins surrounding the QR code.
- The “Margin” in this window refers to the margin that appears around the QR code.
- When you adjust the margins, the width will automatically adapt to accommodate these new constraints.
Text box
In the text box, you can enter free-form text or right-click to select tags to insert. The tags will appear in the format: @(VARIABLENAME) and are generated automatically.
Available Tags:
|
|
Info
"Bridge" was the previous name of Nexio, the optional tool that connects your CalderaRIP with third-party applications such as web shops, CRM systems, ERP solutions, and MIS.
Tags are particularly useful when utilizing pre-established configurations for Workflows or QuickPrints, as they automatically insert the relevant information into the QR Code.
Evaluated length
The Evaluated Length indicates the total number of characters in the string, calculated based on the content of the text box, including the actual values of tags and any free-form text.
Add cut path around the code
Enable the "Add Cut Path Around the Code" option to create a cut contour for the QR Code. This feature is useful when placing the QR Code on the back of your print.
Redundancy level
The QR Code contains multiple repetitions of the information, enhancing accuracy. However, increasing the redundancy level will also enlarge the QR Code. Available options include: Low, Medium, Quality, and High.
Save an Optical or QR Code Configuration
You can save QR Code configurations for easy selection and use.
To create a new configuration, click the "New" button:

The Optical Code Configuration window will open. Enter the desired name for your configuration at the top of the window:

Next, set your QR Code parameters and click "OK" to save the new configuration. It will be automatically applied and added to the configuration list.
If you open an existing configuration and change its name, the original configuration will remain intact, and a new configuration with the updated name will be created.
Edit a configuration
To edit a configuration, select it from the list and click the Edit button. The Optical Code Configuration window will open. Modify the settings as needed, then click "OK" to save your changes.
Delete a configuration
To delete a configuration, select it from the list and click the trash can icon:

You will be prompted to confirm the deletion. Click "Yes" to proceed:

Info
You cannot delete the "Custom" (or default) configuration, but you can modify its parameters.
Cutting + QR Code workflow
You can create a QR Code that shares the same cutting information (Cut ID and side) as a standard barcode (Barcode 39 option).
- Open the Page Setup.
- Go to the Cutting tab.
- Enable Cutting Contour, and activate the Barcode option.
- Select "QR Code":
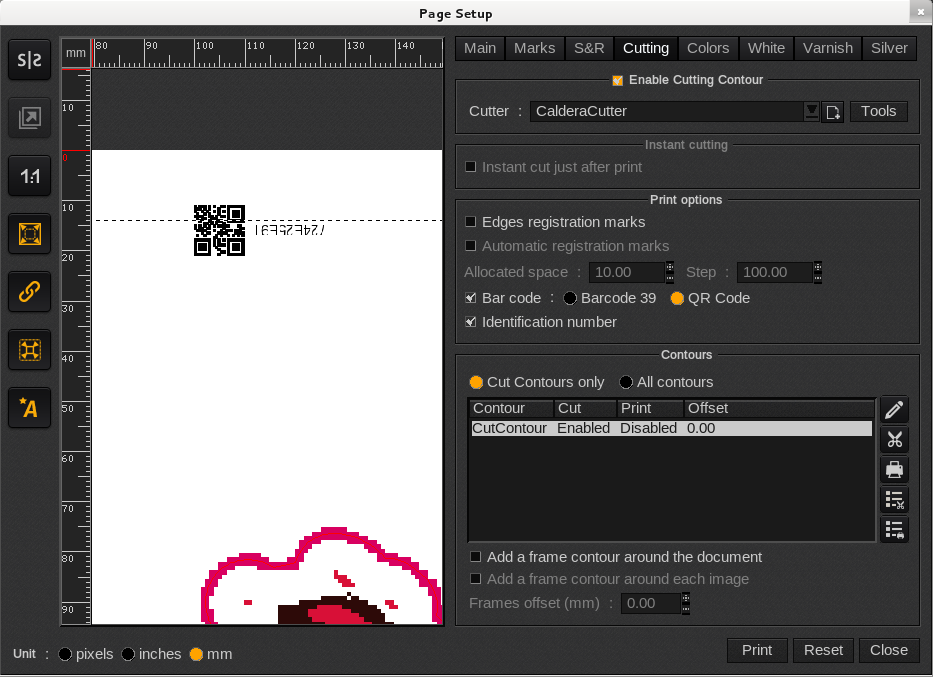
- You can adjust the size of the QR Code and specify the sides on which it will be placed by clicking on the "Tools" button (in the Cutter selection area). This will open Cutter Tools Configuration:

From there, you can modify the sides where the barcodes appear and their sizes. These parameters will apply to both types of barcodes.