Printer tab
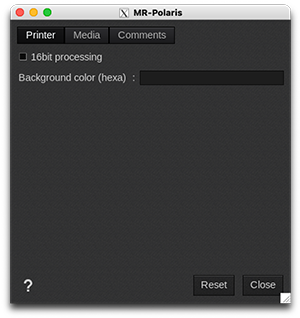
- 16bit processing: when a "-Contone" resolution is used, this will enable the 16bit output. This ensures the smoothest color transitions in exchange for slightly longer processing times. It is recommended to enable this setting for most applications.
- Background color (hexa): RGB color in HTML hexadecimal format. Indicates to the printer which background color to use to simulate the T-shirt in its user interface (the default color is white, #FFFFFFFF). This option is mainly intended to be used by automated submission workflows.
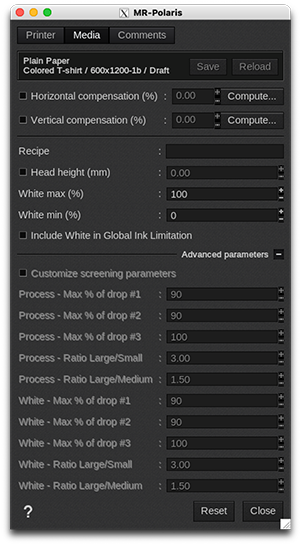
Media tab
-
Information: at the top of the window, you are able to see information about your media. There you have access to two actions:
- Save: when you click on this button, the current media settings are saved to the selected media profile (printer, media, resolution, mode) so there will be applied for any new job using the same print configuration. If you don't save, the changes you made are only applied to the current job.
- Reload: will revert back to default as set during profiling or the last saved changes.
- Horizontal compensation (%): we recommend not to modify this. Any deviation is likely to be mechanical on the printer's side.
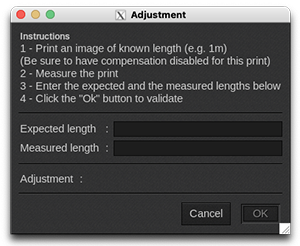
- Vertical compensation (%): this can be useful if you detect an increase or decrease in the length due to heating or media tension which is common when printing on vinyl or textiles for example. To calculate the compensation, click Compute and follow the software’s instructions.
- Recipe: the printer defines recipes to control the pre-print and post-print press stations; pre-treat, heat press, flash, etc. In this field, you can type the name of a recipe defined on the press to select the required settings.
-
Head height (mm): adjust (in millimeters) the gap between the head and the platen. Affects both white and color printer stations.
-
White max (%): this allows limiting the level of white ink used in T-shirt modes. This value should be reduced when a 100% white coverage is causing print artifacts, either in the white itself, or when colors are printed on top. This option should be set before linearization: changing this setting after linearization and profiling will result in less accurate color reproduction.
|
Info - Tips & Tricks To establish an optimum value, print a range of white swatches at different densities with and without color overlaid. Select the White max percentage that shows the best compromise of solid white and print quality. |
||||
-
White min (%): this allows maintaining a minimum white level under colored inks in T-shirt modes. This option should always be set to 0% when linearizing, and then adjusted before profiling. Adjusting after profiling will result in less accurate color reproduction. Increasing this value may help some garment types achieve better longevity through wash tests.
|
Info - Tips & Tricks
|
||||
- Include White in Global Ink Limitation: when enabled, the ink limit algorithms will also consider the level of white ink under color ink. This is recommended to achieve the best color gamut and shadow detail in most cases, especially for single-pass Direct-to-Garment prints (where the white layer is not dried before printing color). This option should be enabled before profiling. Adjusting after profiling will result in less accurate color reproduction.
| Info - When setting the ink limit, if this option is enabled, the ink limit entered should normally be increased by 100% over the value read from the test chart (as the values on the chart don't include the white layer). | ||||
Advanced parameters (only available with grayscale/variable drop resolutions)
- Customize screening parameters: enable this feature if you want to limit the maximum percentage and/or mixture of the 3 sizes of dots. Adjustment is separate for the White and Color printer channels. By default, this function is disabled, which means that CalderaRIP is already using the best variable droplet mixture for printing. If you feel comfortable and you need to build a new media profile, you can turn this feature on to choose a different droplet mixture and change the printed colors:
| Color printer channel | White printer channel |
|
|
Comments tab
On this tab you can see comments coming from the EasyMedia module. It can include comments from the global media window and from the profile project window.