Creating a banner involves meeting specific technical and design constraints. Before starting the printing process, determine the type of banner you are producing.
This article covers the key elements to consider when designing a banner and provides an overview of different banner types.
Technical constraints
Indoor or outdoor use
The design and finishing of a banner depend on whether it is intended for indoor or outdoor use.
Indoor
Indoor banners can be:
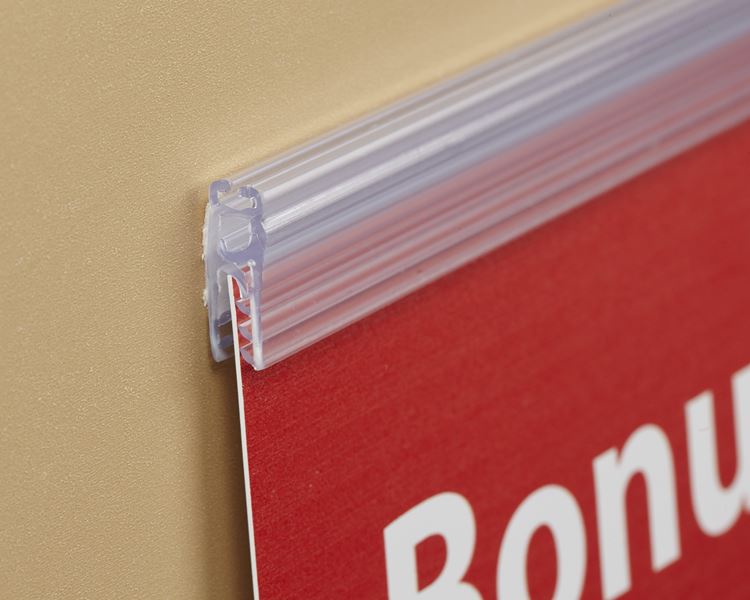
- Designed with adhesive tabs or clips:
- Without specific finishing, it will be a Cut-to-edge banner.
- With reinforced edges, it will be a Hem-only banner.
- Designed with Grommets only.
- Hung with a pole or dowel, making it a Pole pockets banner.
Outdoor
Outdoor banners can be:
- Designed with Hems and grommets (taped, heat-welded, or sewn hems).
- Secured to a fence using ball bungees.
In windy or harsh environments:
- Reinforce corners and hems with additional material.
- Consider adding cut lines such as slits or flaps to reduce wind pressure.
- Use a mesh or fabric banner to minimize wind resistance.
Media types
Banners can be created using a variety of materials:
- Vinyl: ideal for eye-catching, single- or double-sided printing, available in matte or gloss finishes.
- Mesh: designed for outdoor use in windy conditions, typically printed on one side.
- Fabric/Textile: provides a high-end look, some fabrics are better suited for indoor use, others for outdoor.
- Canvas: offers the texture and appearance of classic painted canvases.
Banner sizes
Banner sizes can vary and may follow standard formats or be fully customized.
-
Landscape formats
- Small: 48"x24"
- Medium: 72"x34"
- Big: 96"x48"
- Square format: 48"x48"
Design constraints
Safe zone
Design the artwork to match the banner’s proportions, ensuring it extends to the edges. Maintain a safe zone (an inner margin without hems or grommets) by leaving 1-2 inches around the edges. Avoid placing text, logos, or important information within this zone to prevent them from being obscured by hems or grommets.
Good to know
Bleed is generally not required for banners.
Resolution
The resolution of images should align with the banner’s viewing distance:
- Close-up (~3 feet): use high resolution.
- Standard distance (+10 feet): medium resolution is sufficient.
- Distant viewing (+25 feet): low resolution is acceptable, and designs can be created at 1/2 or 1/4 scale.
Banner types
Cut-to-edge
Recommended for indoor or short-term use. This type relies on alternative hanging methods such as clips, tabs, or adhesive tape. The finished banner size will match the artwork's dimensions.
Hem-only
Hems strengthen the edges of the banner and provide a smooth finish. They are particularly useful for heavier banners.
Types of hems:
- Taped hems:
- The most commonly used option.
- Double-sided tape is applied along the edges before folding.
- Sewn hems:
- A more durable option with double stitching using heavy-duty thread.
- Often combined with tape for added longevity.
Tips & tricks
- The hem typically adds 1 inch of folded material, making it slightly thicker than the rest of the banner.
- The size of the tape determines the hemline’s position and the size of the grommets. Tapes range from 1/2” to 3”.
- After gluing side A to the edge, crease the folded hem to prevent wrinkles before gluing side B.
Grommets only
This type is recommended for indoor or short-term use. Note that the edge finish may vary depending on the quality of the material.
Grommets consist of two parts and are applied using a manual or automatic device. They are available in materials such as plastic, brass, or stainless steel.
Tips & tricks
- Place grommets evenly, approximately every 2-4 feet around the banner’s perimeter.
- Ensure grommets are appropriately sized (commonly 1/2 inch) and placed far enough from the edges to extend the banner’s lifespan.
- Match the grommet color to the banner’s edge and grommet marks to reduce visual distractions.
Pole/Dowel Pockets

Pole pockets are created by folding a portion of the banner material (top, bottom, sides, or a combination) to form a pocket for poles or dowels. The pocket is sealed at the back using:
- Tape
- Heat welding (for vinyl)
- Sewing (for fabric or textiles)
Grommets can be added to closed sections or areas without pole pockets for better durability.
Tips & tricks
Ensure the pocket is larger than the pole (e.g., a 2” pocket for a 3/4” pole diameter).
Hems and grommets
For durable banners, especially outdoors, use a combination of hems and grommets. Hems can be applied before or after grommets, depending on your setup. This primarily affects the offset parameters.
Print your banner
Once you know what kind of banner you need and what kind of particularities your file requires, you can use any of our Caldera products for the preparation of the file and even printing it.
Here are some articles that might be of interest to you:
- Prepare, group, and nest your cut/print files with PrimeCenter, Caldera's prepress software:
- CalderaRIP is a comprehensive workflow solution designed to help digital printing professionals consolidate their production by using a single RIP software to drive all their printers and cutters: